TLDR 🔗
As part of my recent experimentation in upgrading the networking capabilities of Lenovo Tiny machine with Mellanox cards, I was worried about the possibility of an
exposed PCIe card getting shorted out in my cluster. After some designing, I managed to create a 3d printable PCIe cage for such cards.
I’ve decided to share these designs with the community, with the hopes that they will help others out. The FreeCAD project and STL files are available here:
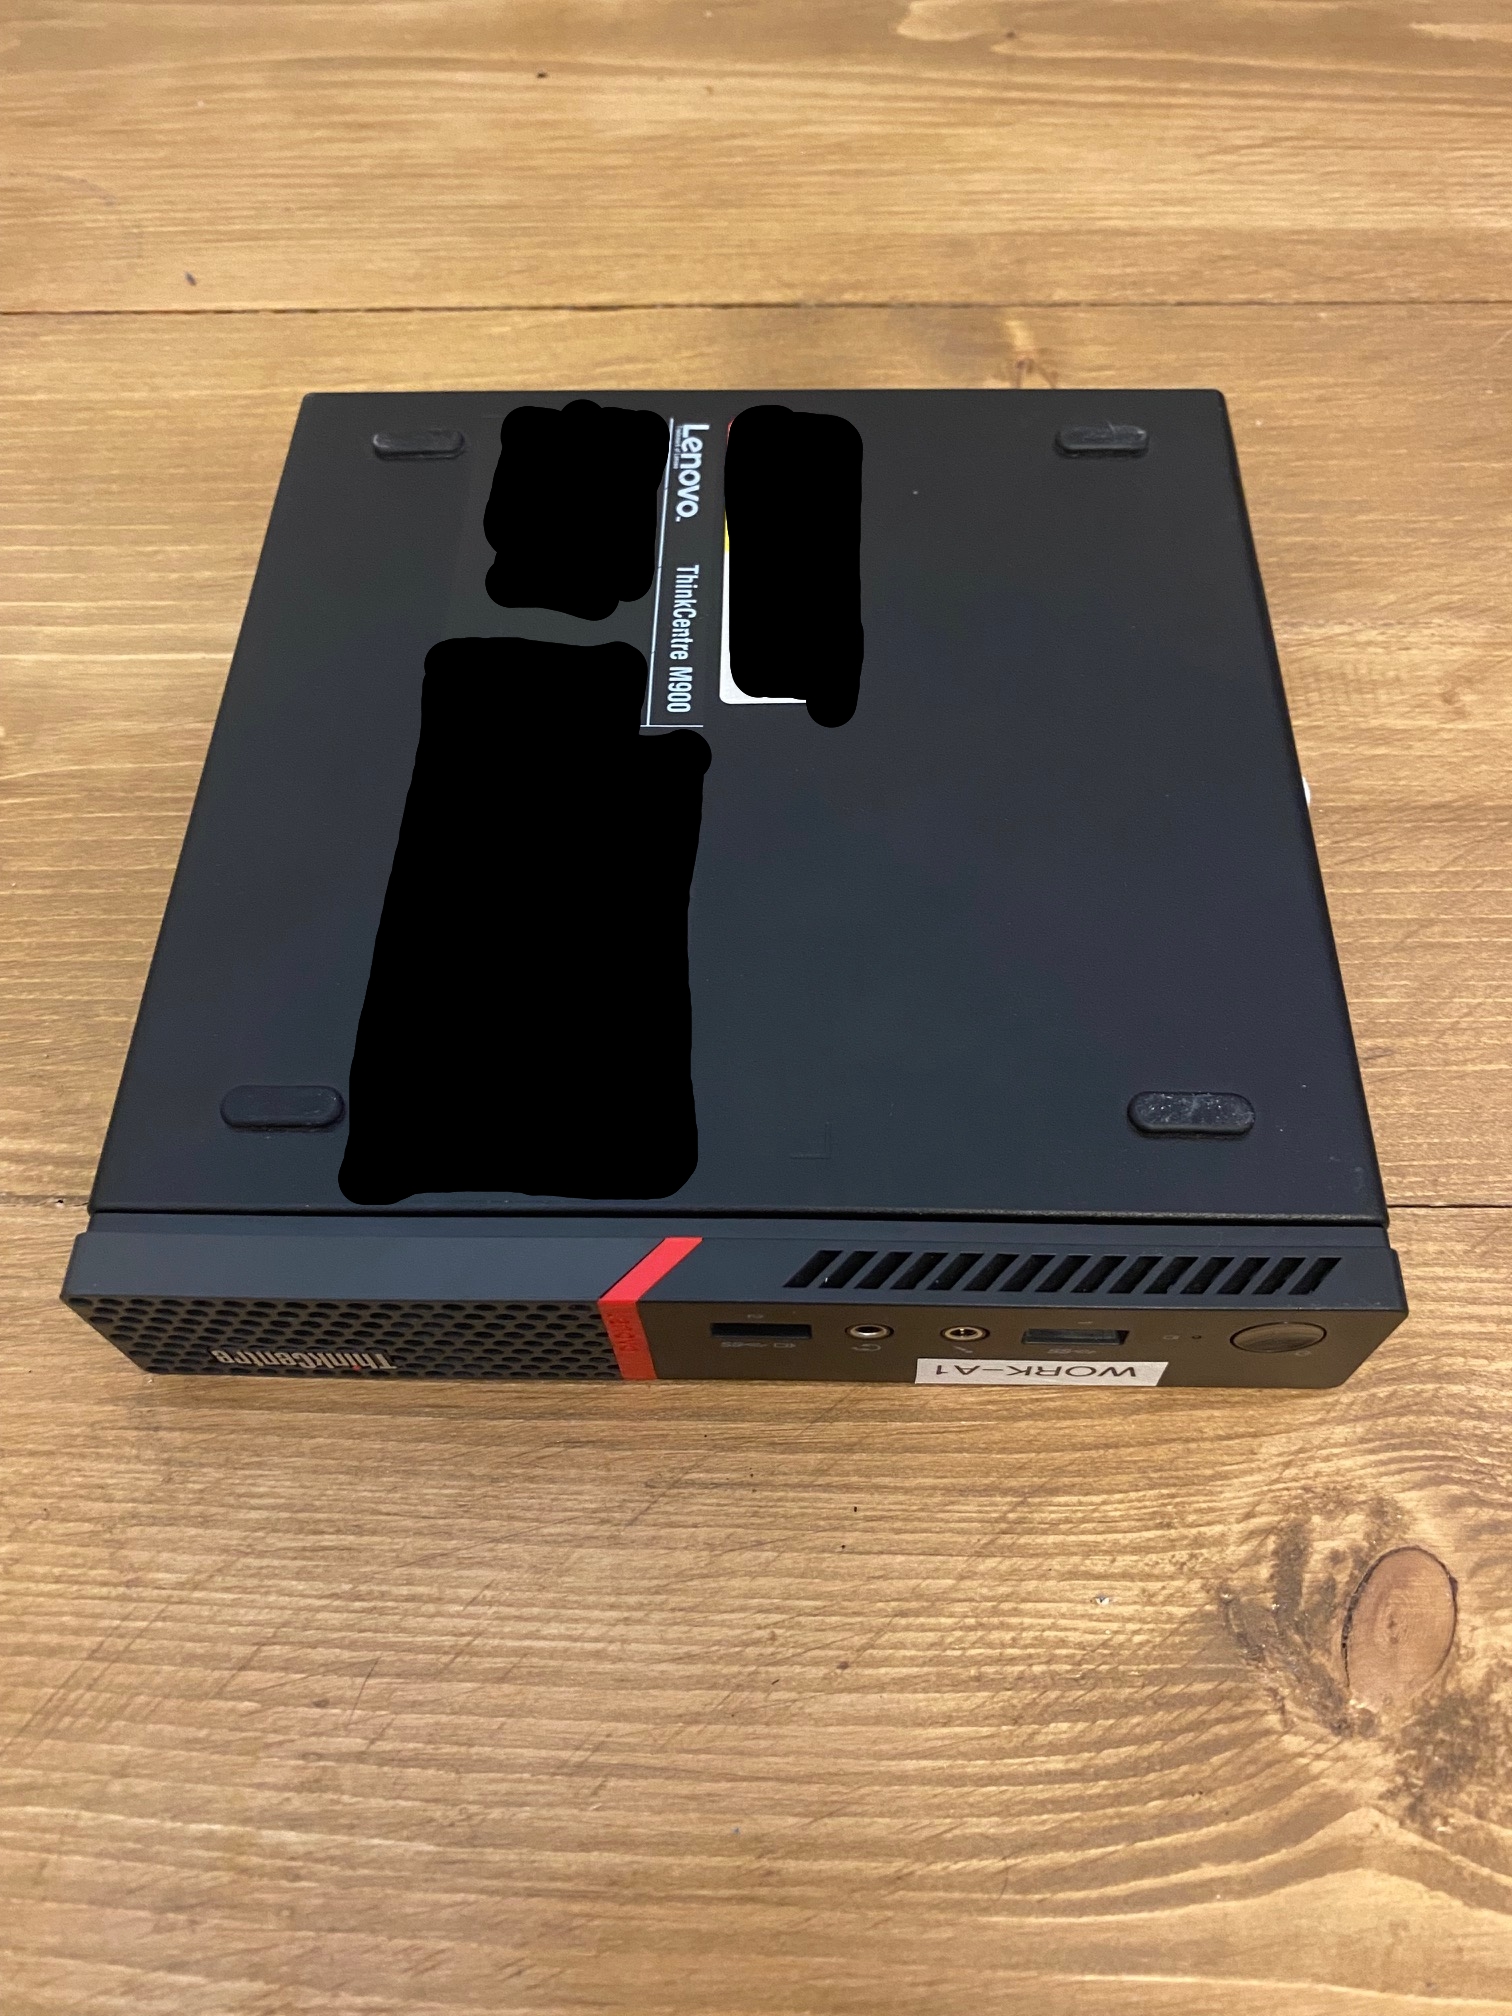
This is a PCIe cage that connects to Lenovo Thinkcenter Tiny M900/M910Q/M80Q machines. The idea is to use a flexible M.2 to PCIe slot adapter to add additional networking cards to the device.
For the M910Q/M80Q machines, the M.2 slot is on the underside of the machine. These cages are designed to be attached to the back of the motherboard chassis with regular motherboard screws. The clearances you get from each screw hole vary, so use the attached washers.
For the M900, the idea is to knock out one of the extension holes in the back of the machine, and then thread the M.2 to PCIe adapter through it and through a hole in the back of the cage (this hasn’t been made quite yet though it’s an easy alteration). You could then just tied the cage to the machine with rubber bands!
The walls of the cage are held together by 30mm M3 bolts and M3 nuts.
To assemble the back wall, you need to super glue the PCIe clipon piece to the end of the pcie slot. The PCIe block piece, goes in the hole on the other end of the PCIe slot, you must first place an M3 nut in the hex hole, then super glue the block into the hole above it. You can then use a regular M3 motherboard screw to fasten a PCIe card in place.
Note, the PCIe slot only accepts full height brackets.
The front wall is designed to accommodate 40mm fans, there is just about enough room to fit in these 20mm deep Noctua fans and a Mellanox ConnectX-3 card:
Unfortunately with the ADT-Link adapter, the third fan must be a 10mm deep fan.
Note that Mellanox cards use 12V, so you must attach an external PSU (dodgy paperclip technique pictured). If you only need 10GBase-T, I recommend a TP-Link card, this can be powered via USB to SATA connectors.
There are no fan headers to plug in 12V fans on the backs of these machines. 5V Fans can be powered by USB with a simple connector like this.
I printed these prototypes in Black PLA with a Prusa Mini but would recommend a larger printer model to avoid wasteful support material. I’m currently trying to print this in PETG for extra heat resistance.
If you want to continue reading about the design process, carry on reading!
Initial design research 🔗
So after my research in the last post, I knew that it was possible to convert the M.2 slot of my Lenovo Thinkcenter Tiny machines to a PCIe slot. I was able to
demonstrate that 10Gb worked like a charm and at that stage hadn’t yet tested with 40Gb cards. I started to think about the need for a 3d printed cage for holding
the card and started looking at how I might integrate such a cage with my machines.
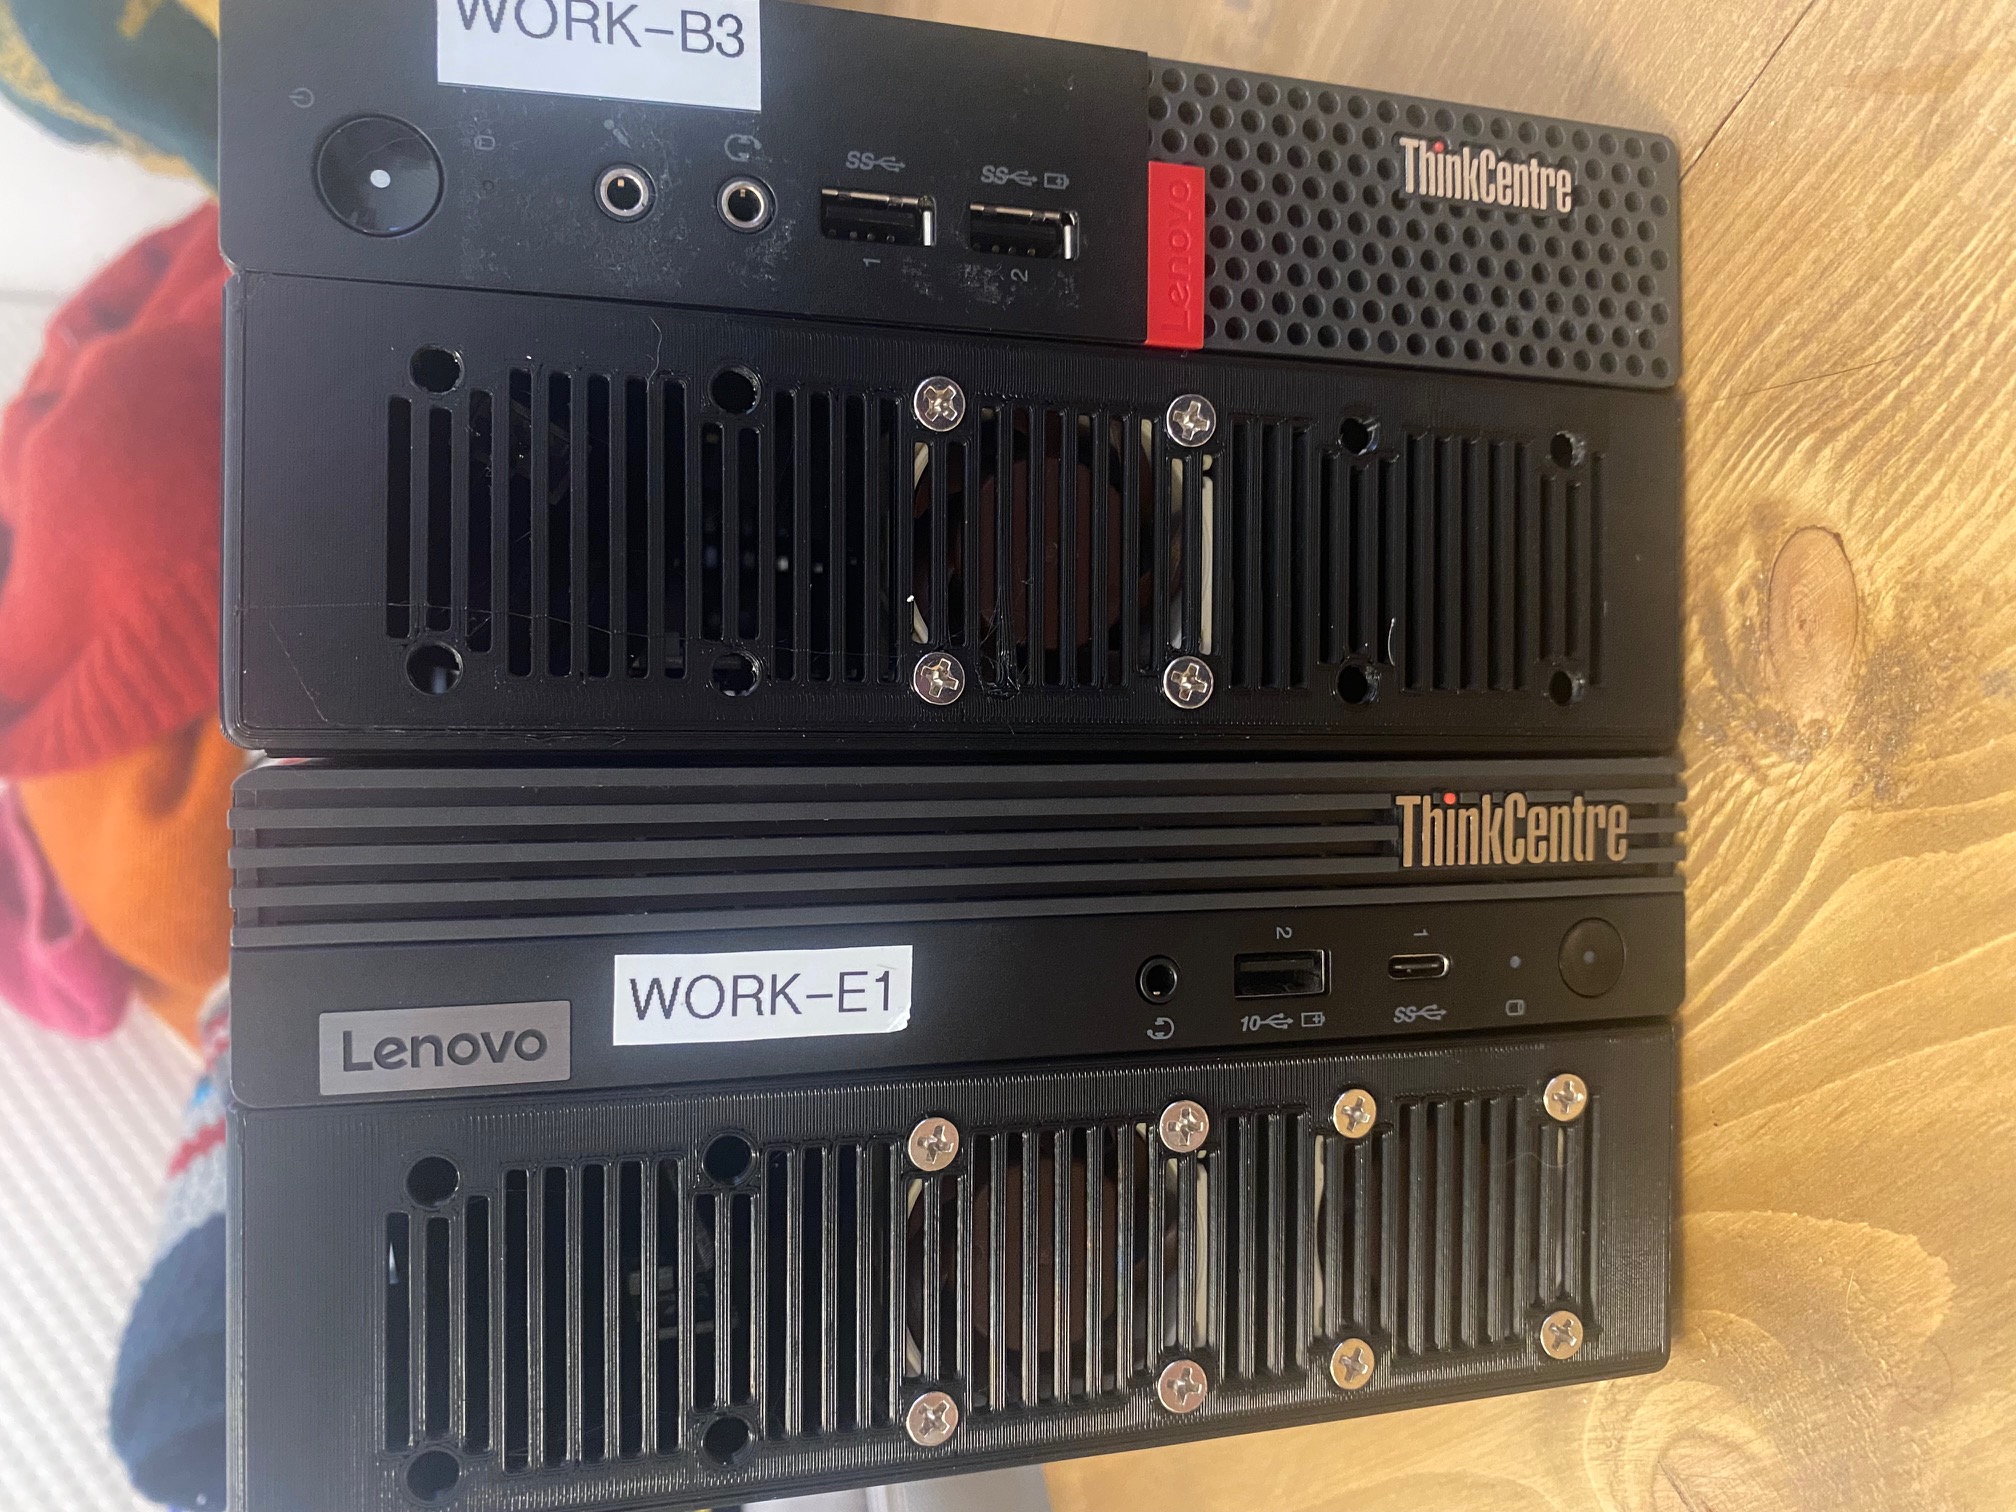
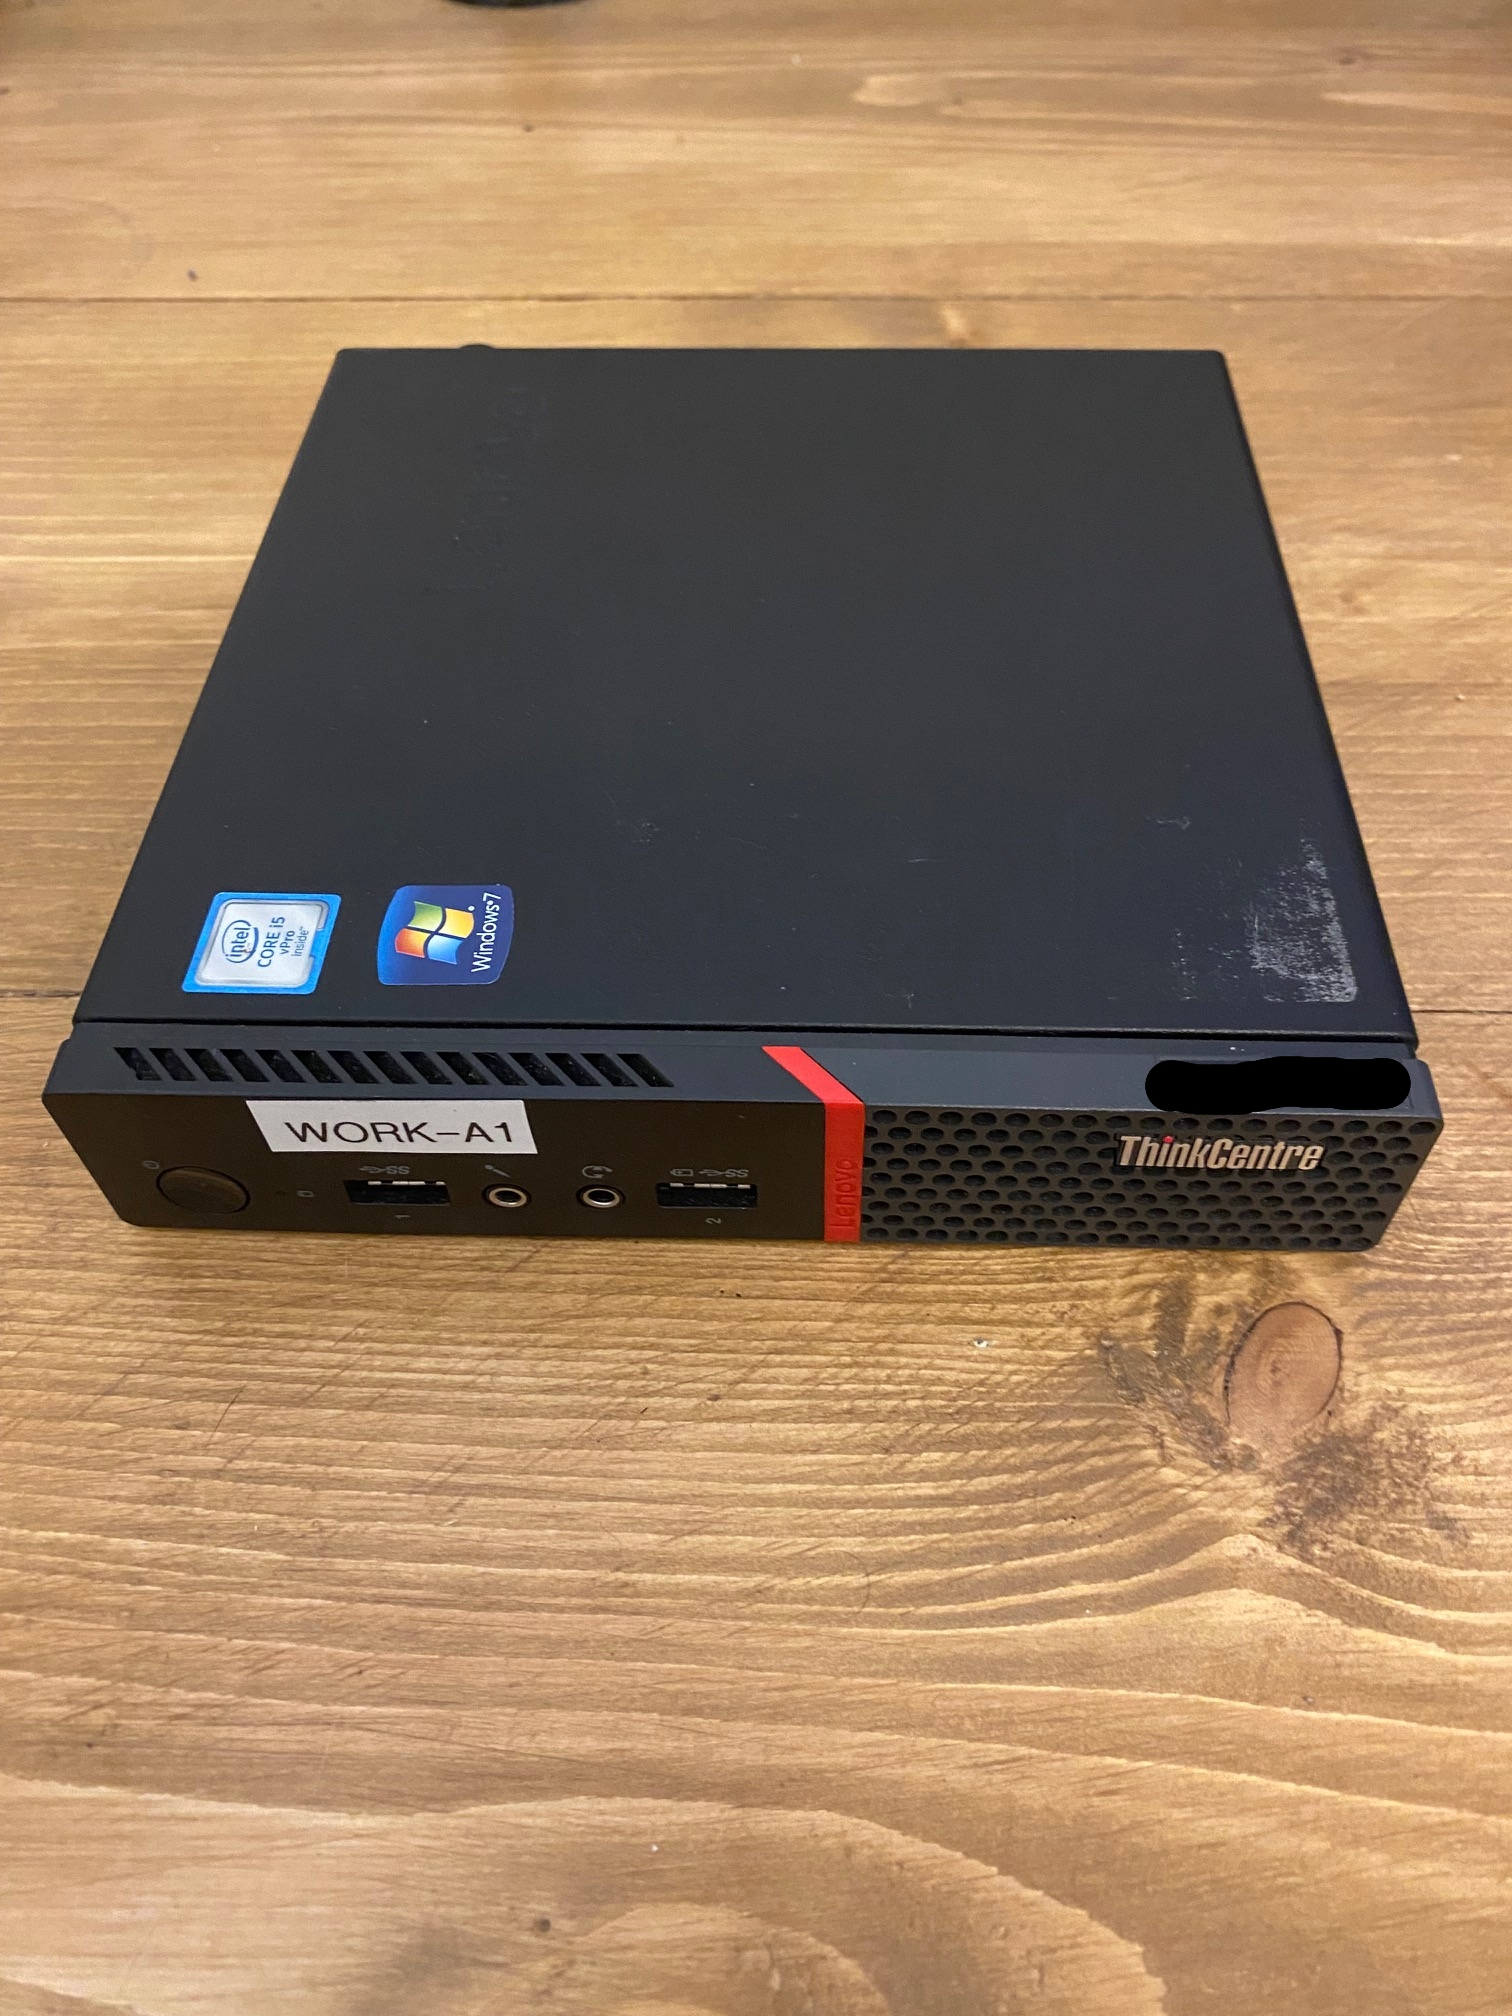
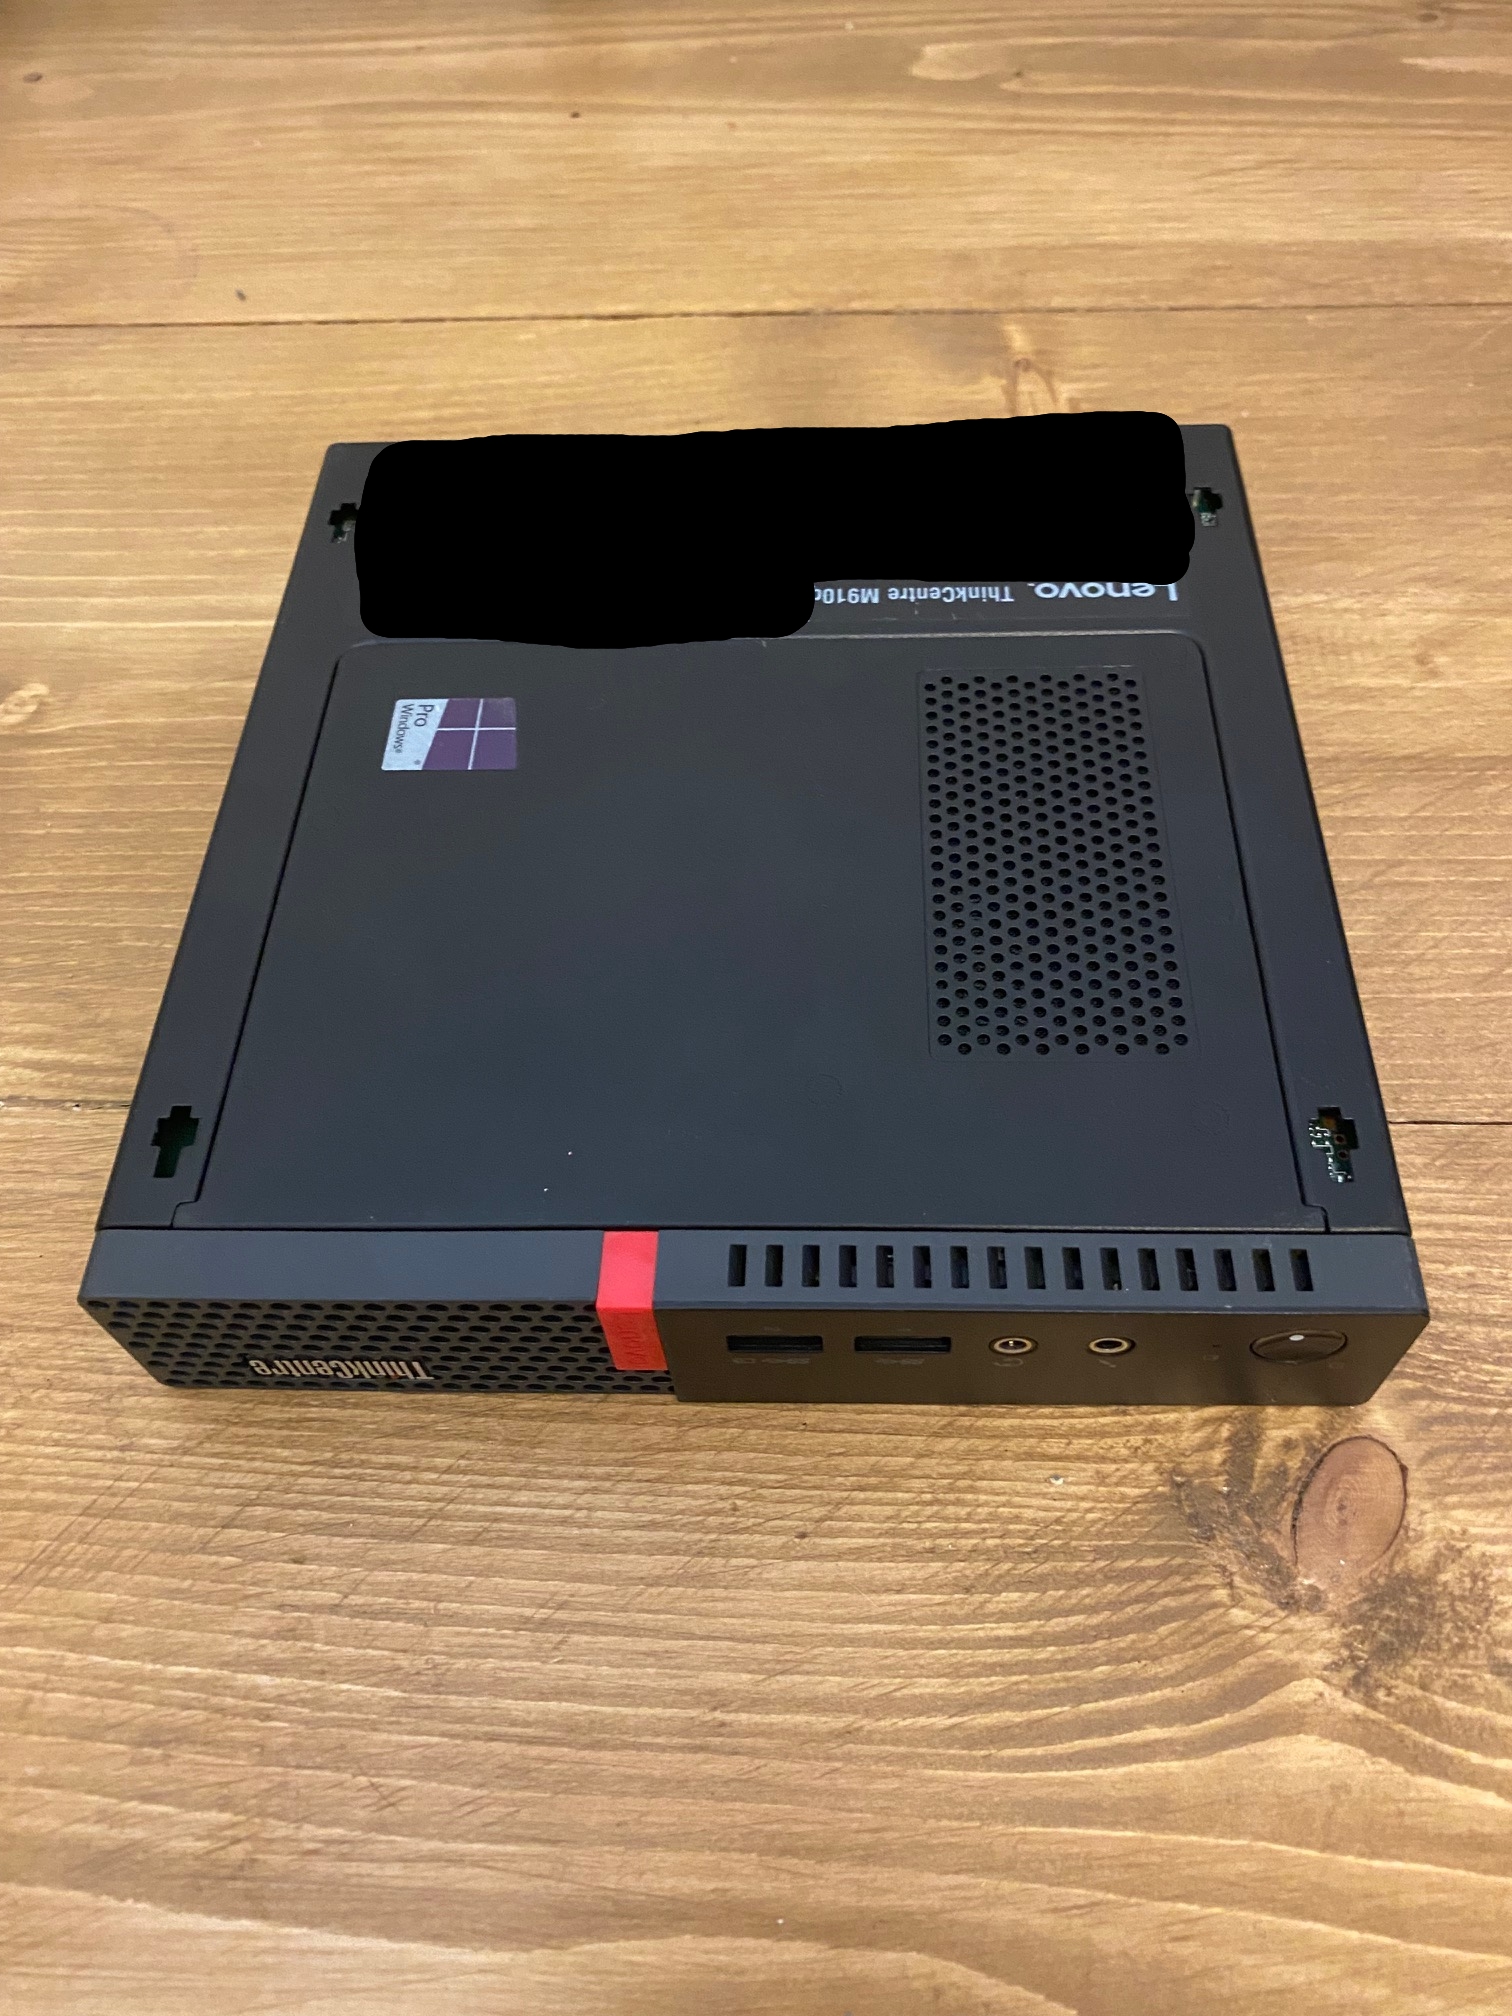
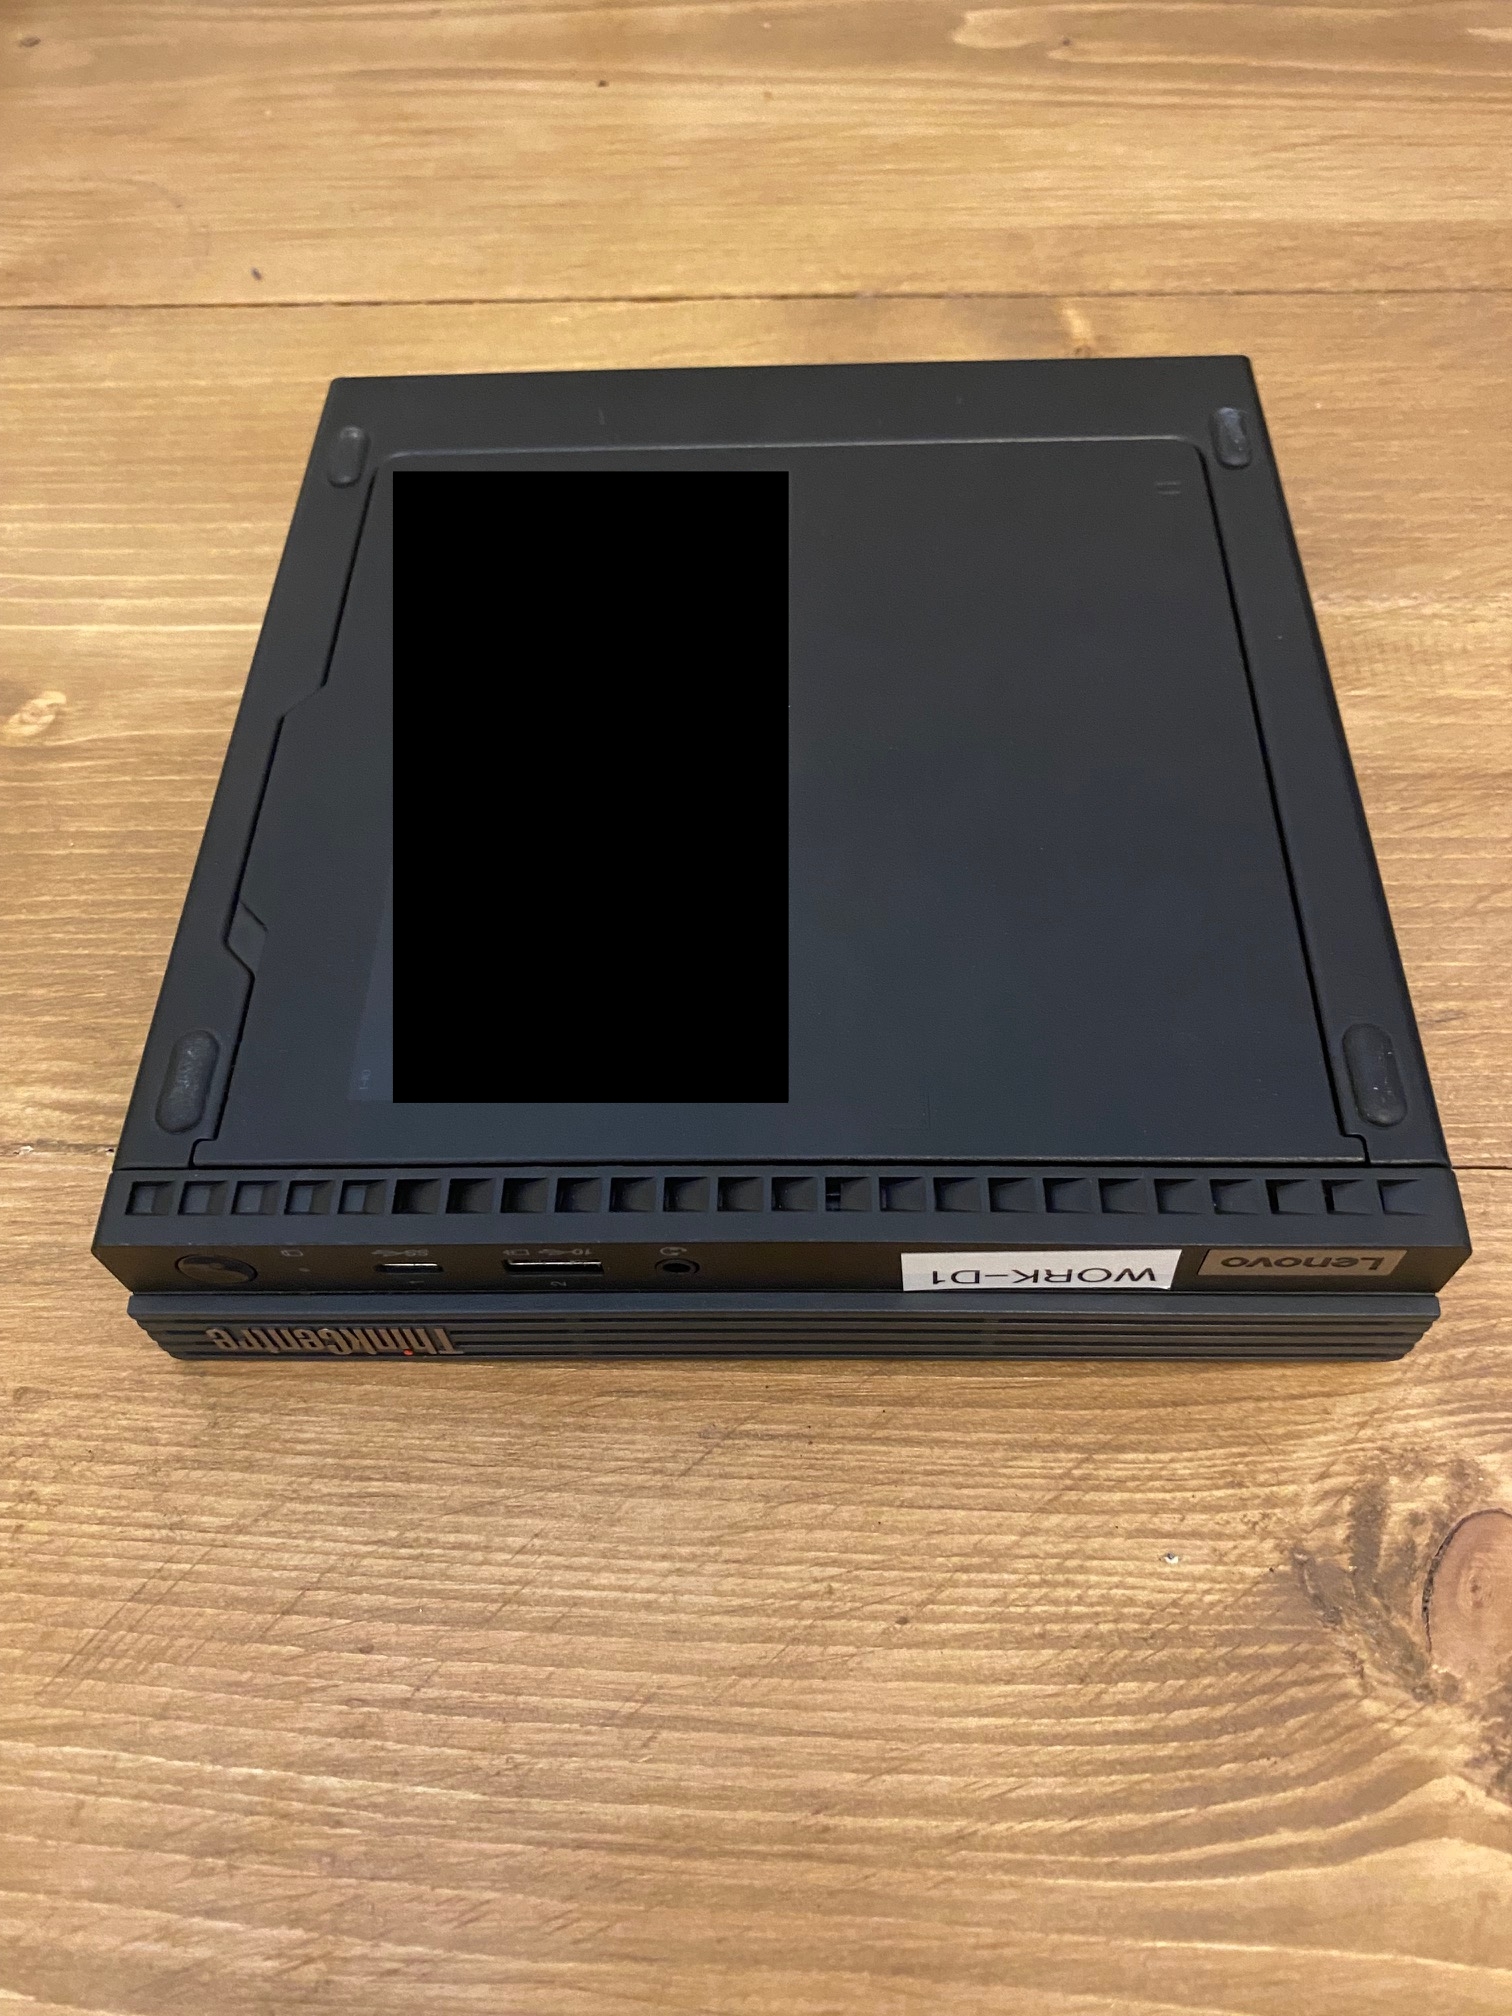
I have several Lenovo Tiny machines that I’ve collected from Ebay when they were cheap enough. I have a few M900s, a few M910q’s and two M80Qs. Whilst the designs
for these machines are fairly similar, there is a major design difference between the M900 series and the later M910q/M80Q machines. On the M910q and M80Q machines
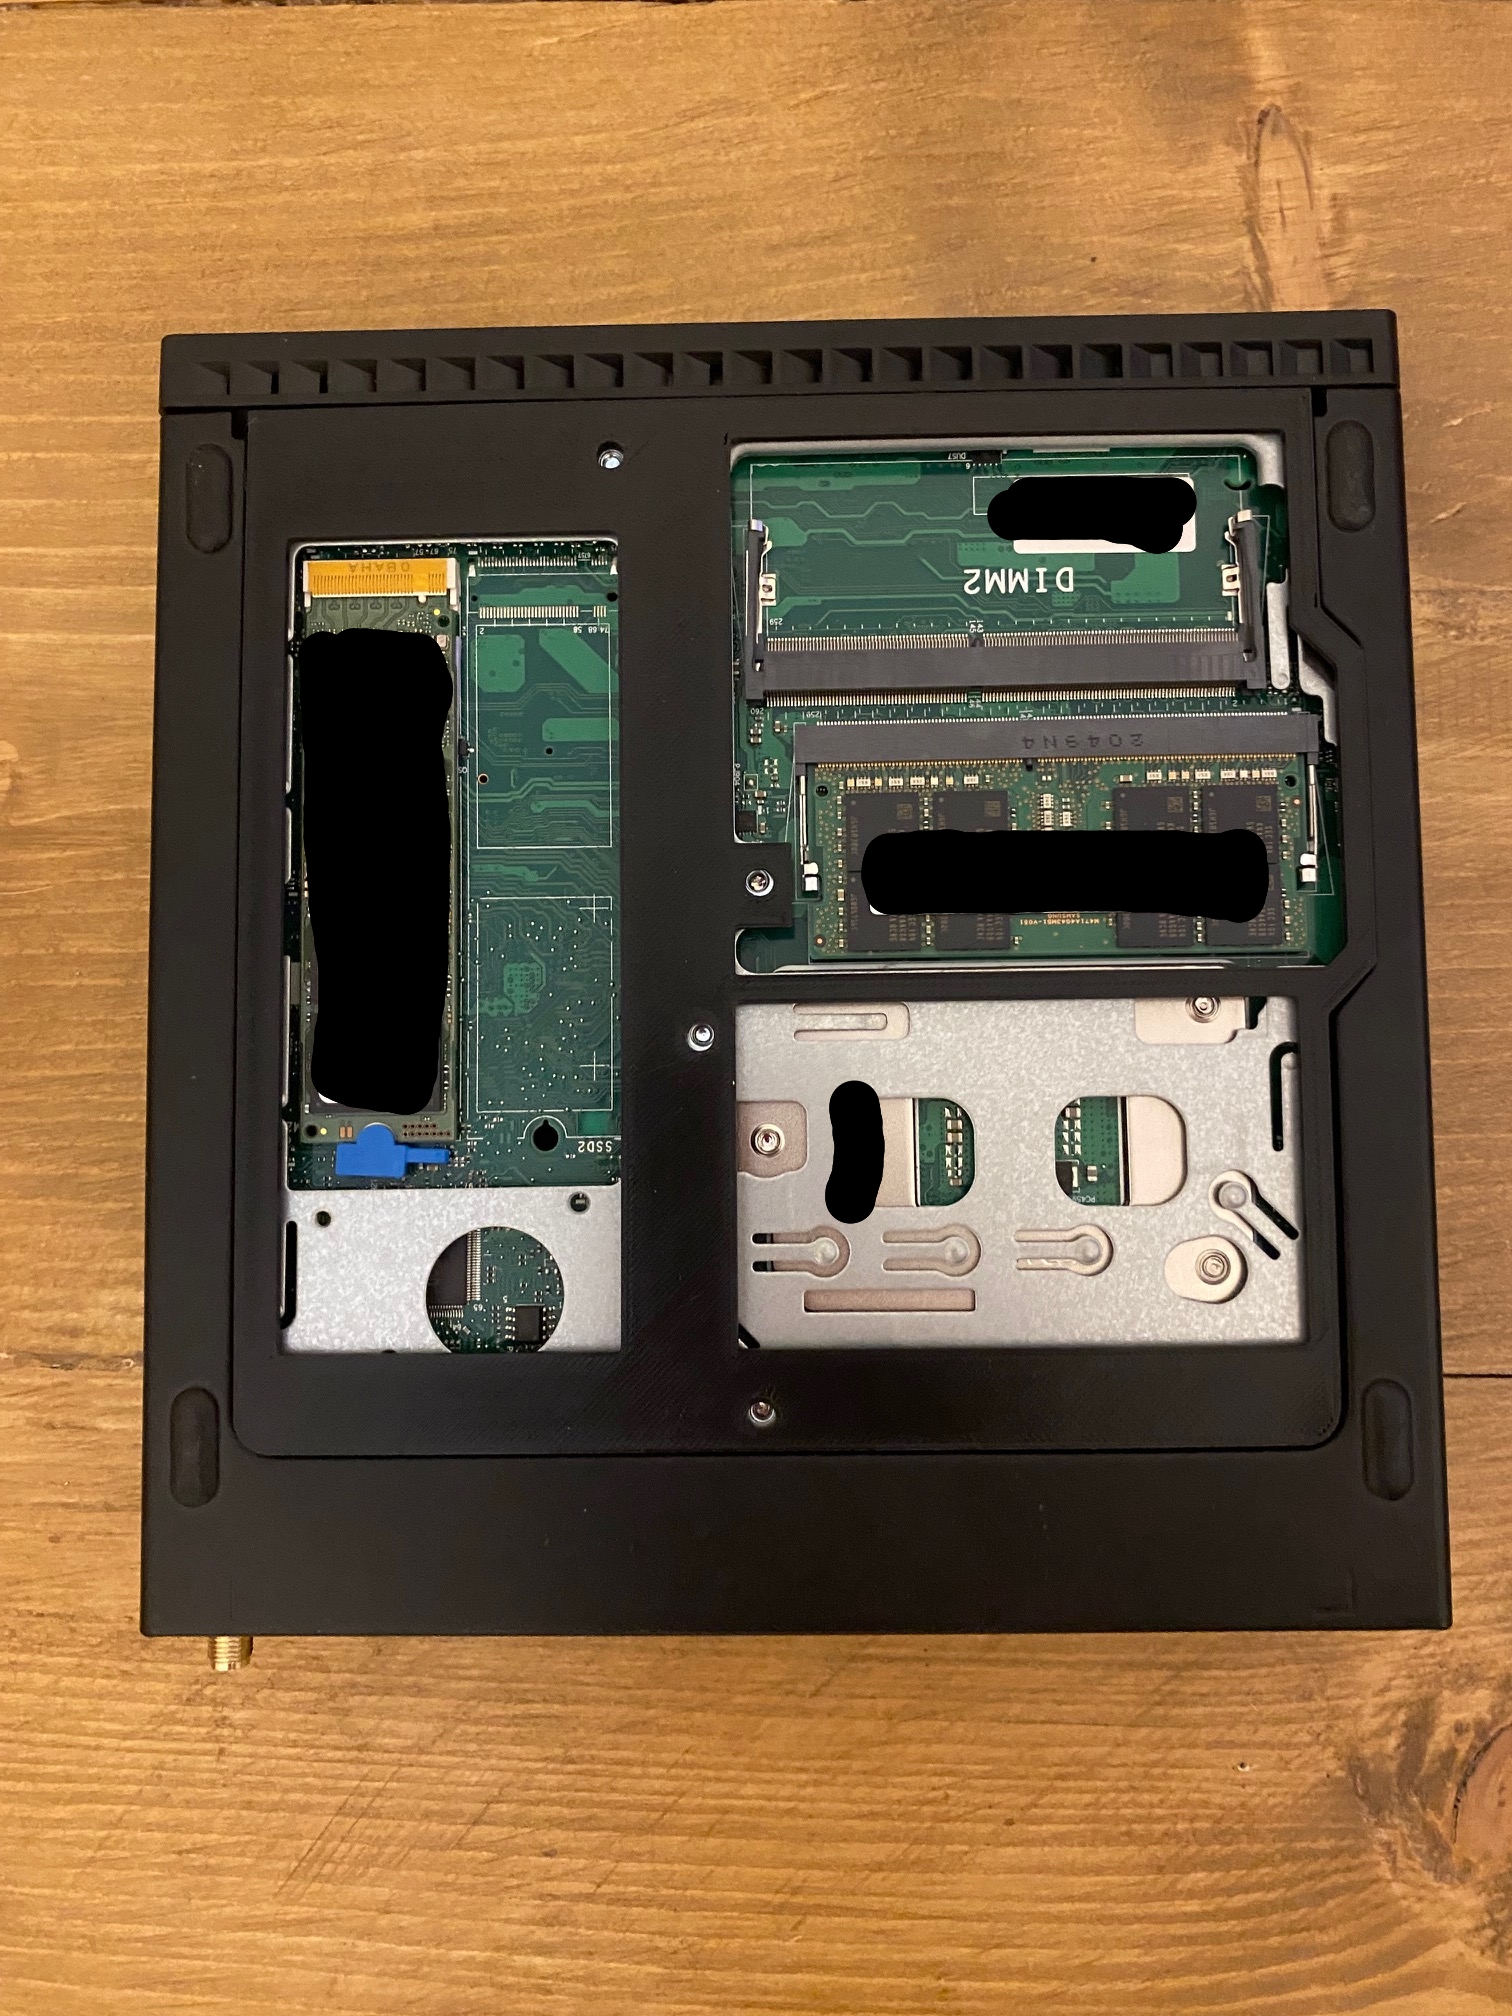
the underside of the machine slides off to reveal memory DIMM slots and the M.2 slot.
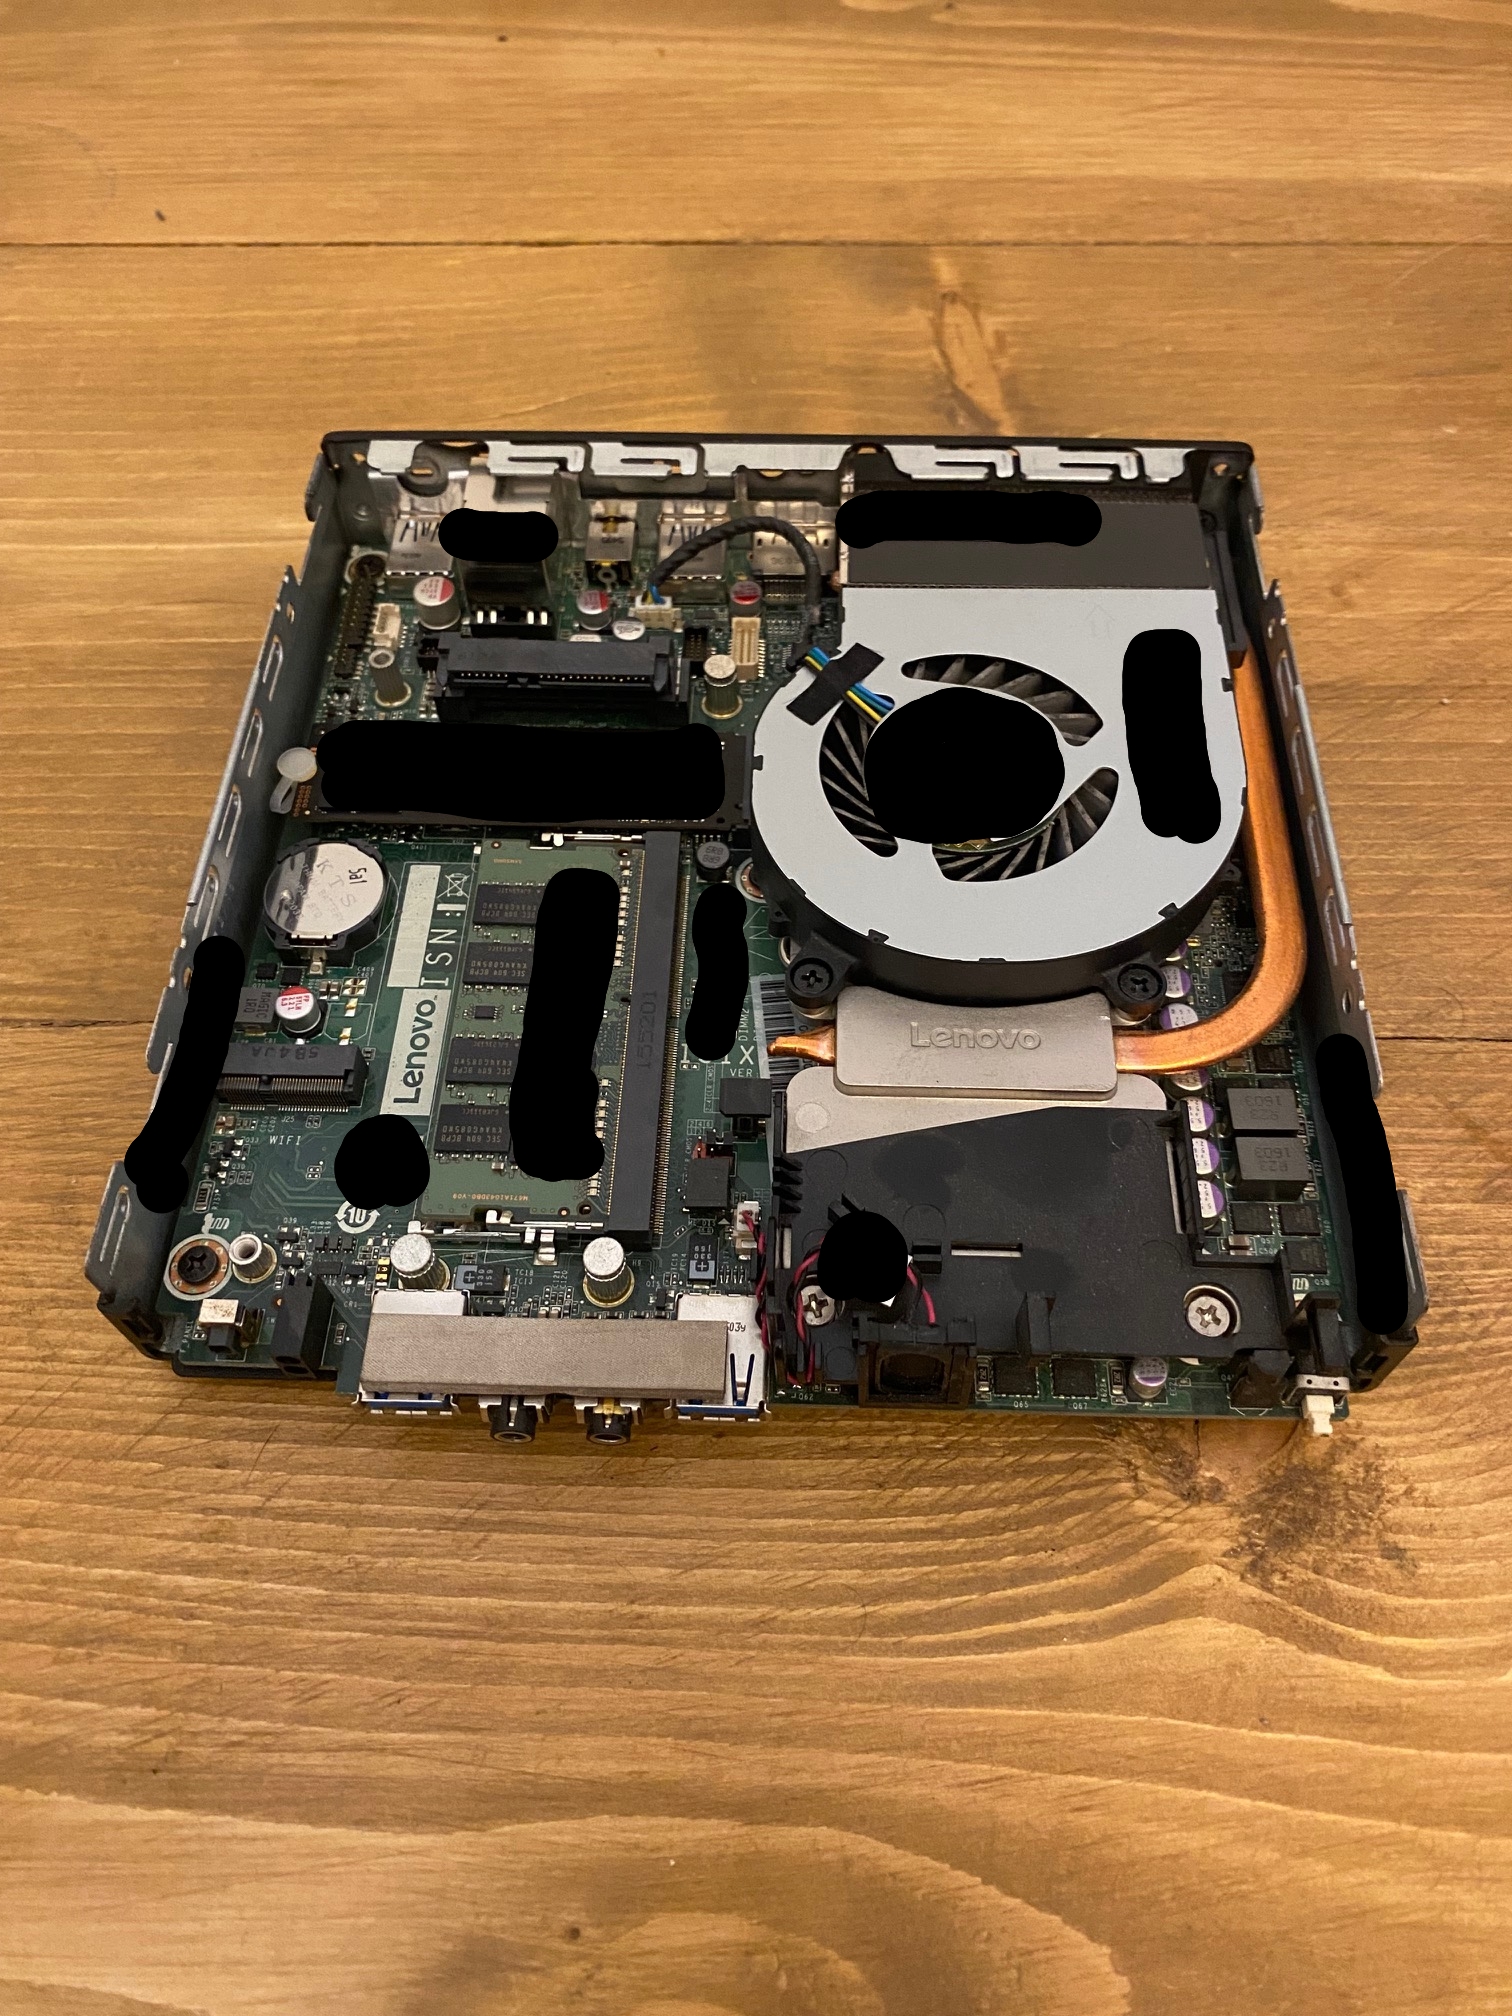
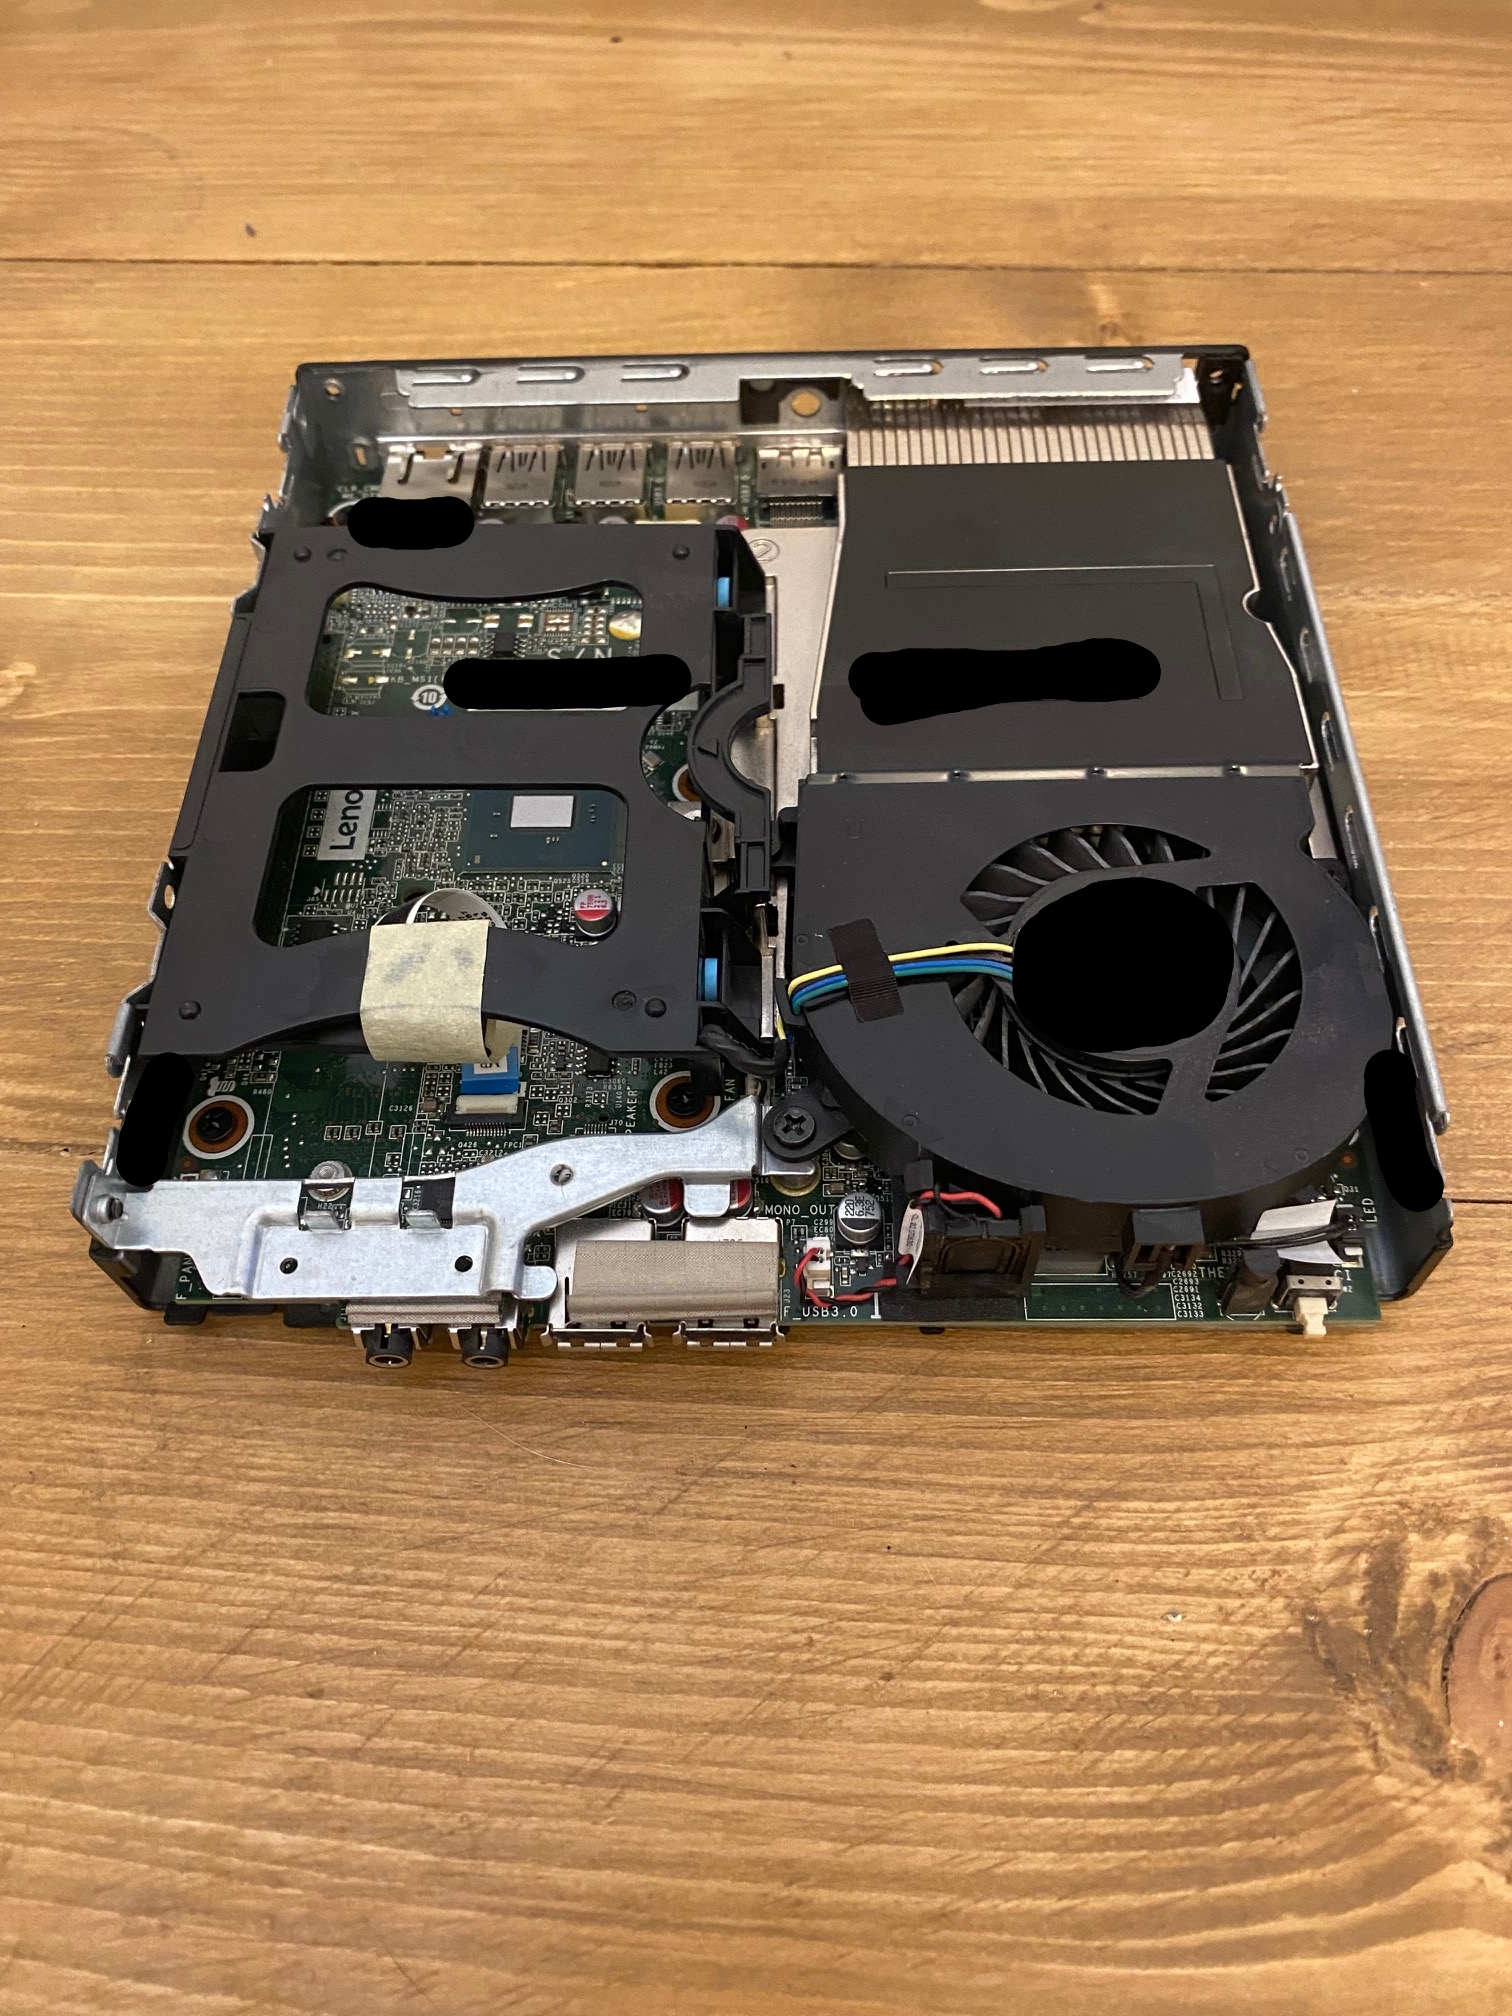
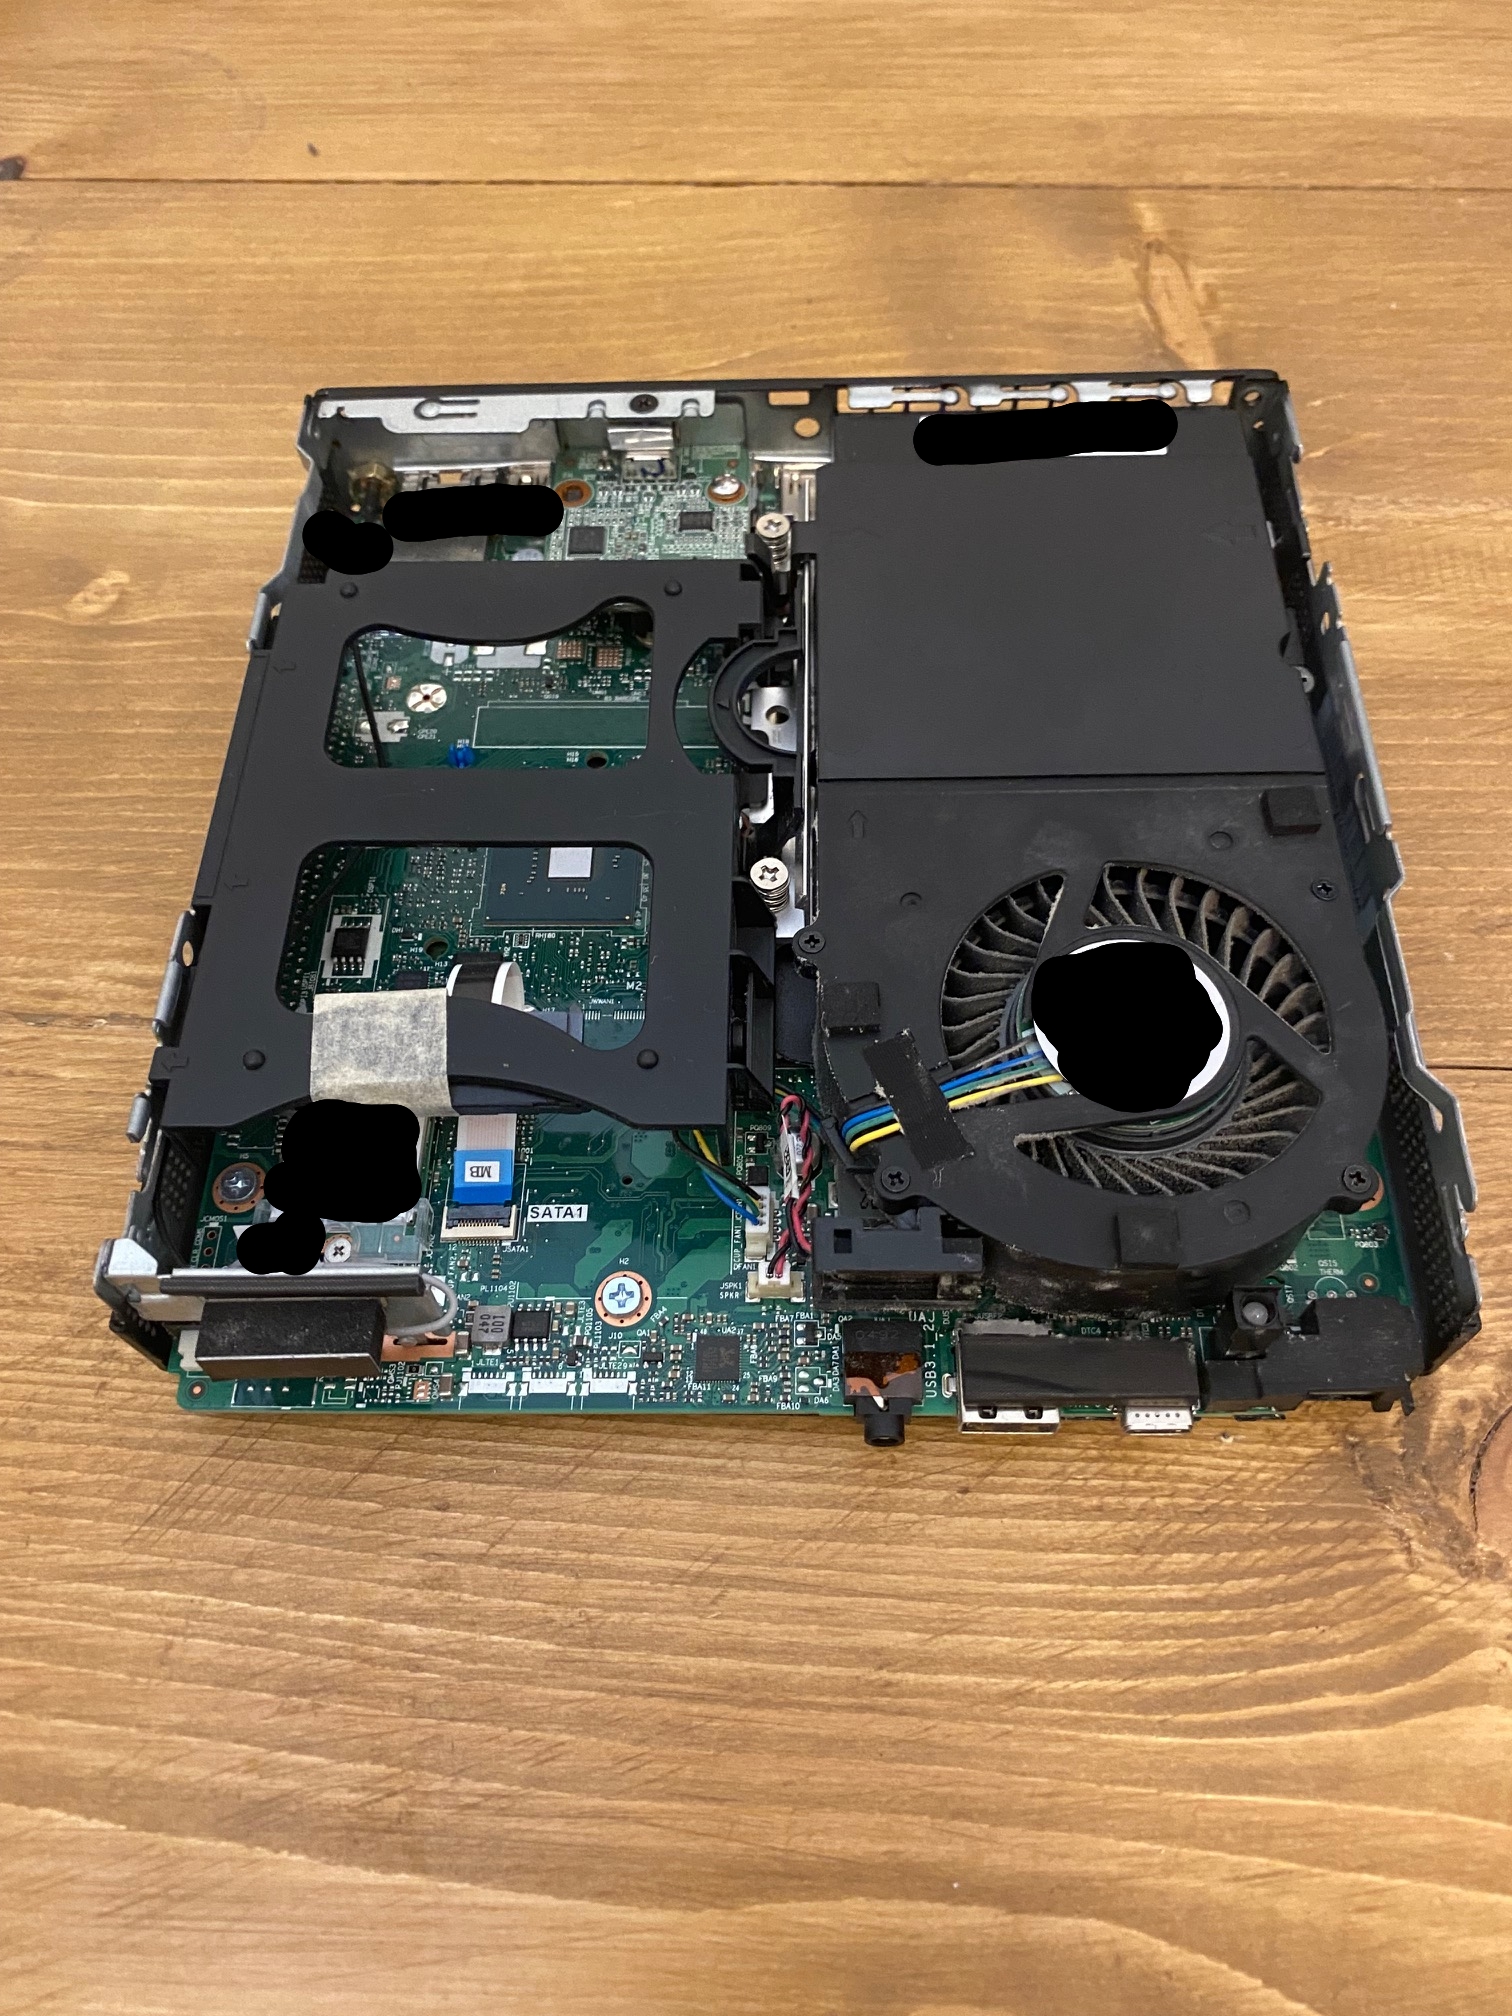
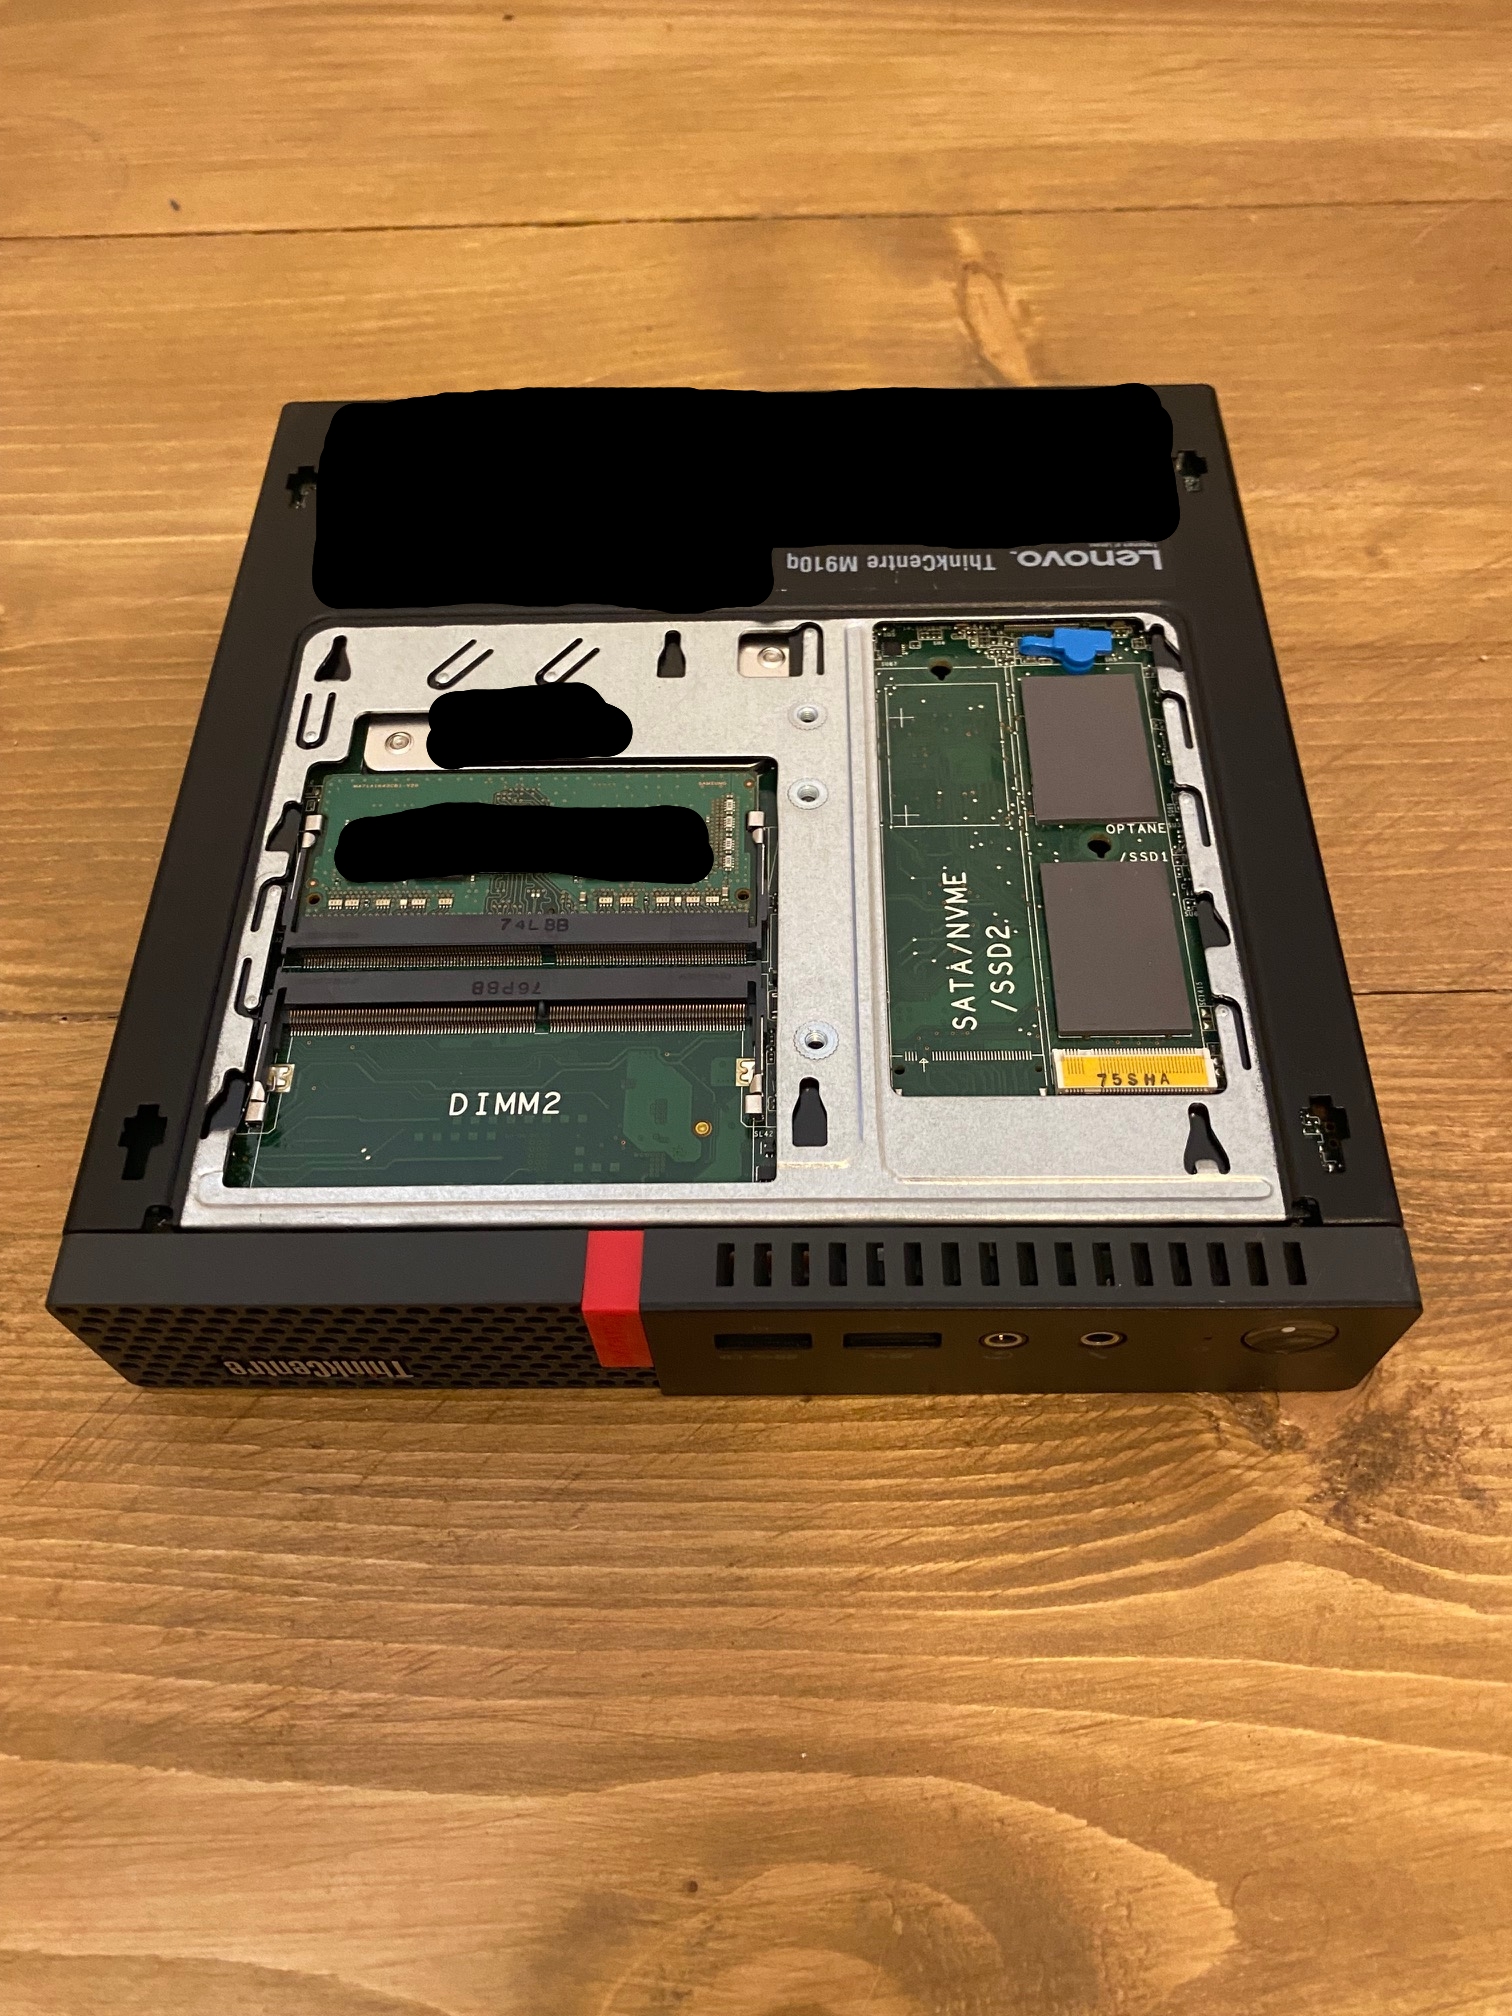
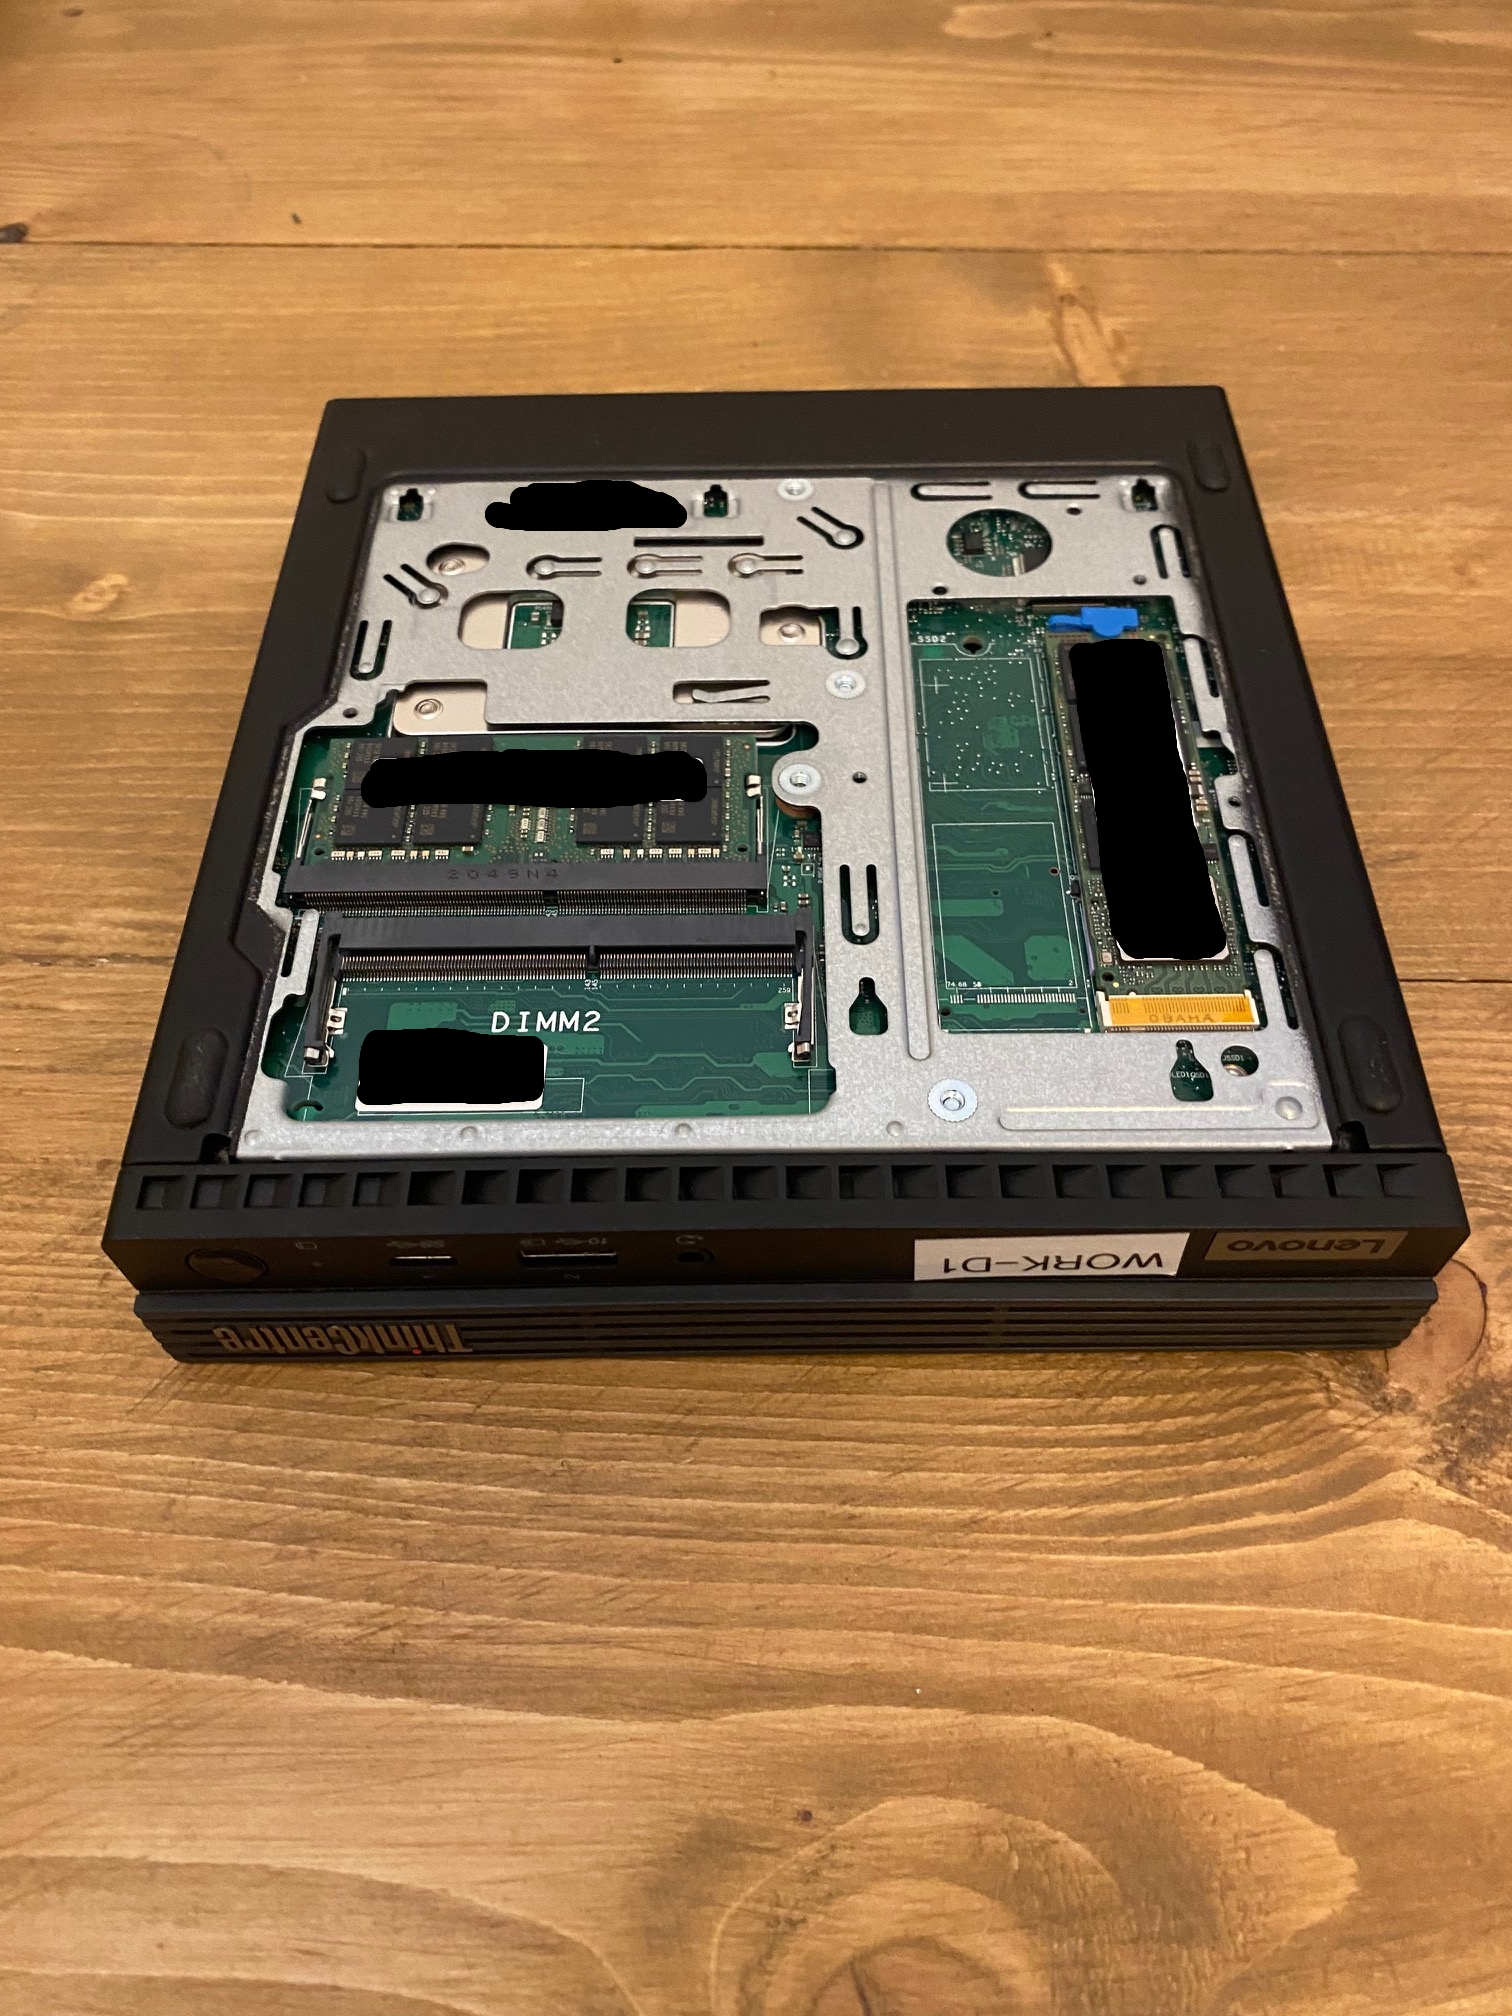
I decided to put aside the M900 models at first, I couldn’t see a viable way make a PCIe cage for them. However the M910Q and M80Q variants has something really very interesting on the exposed opening underneath.
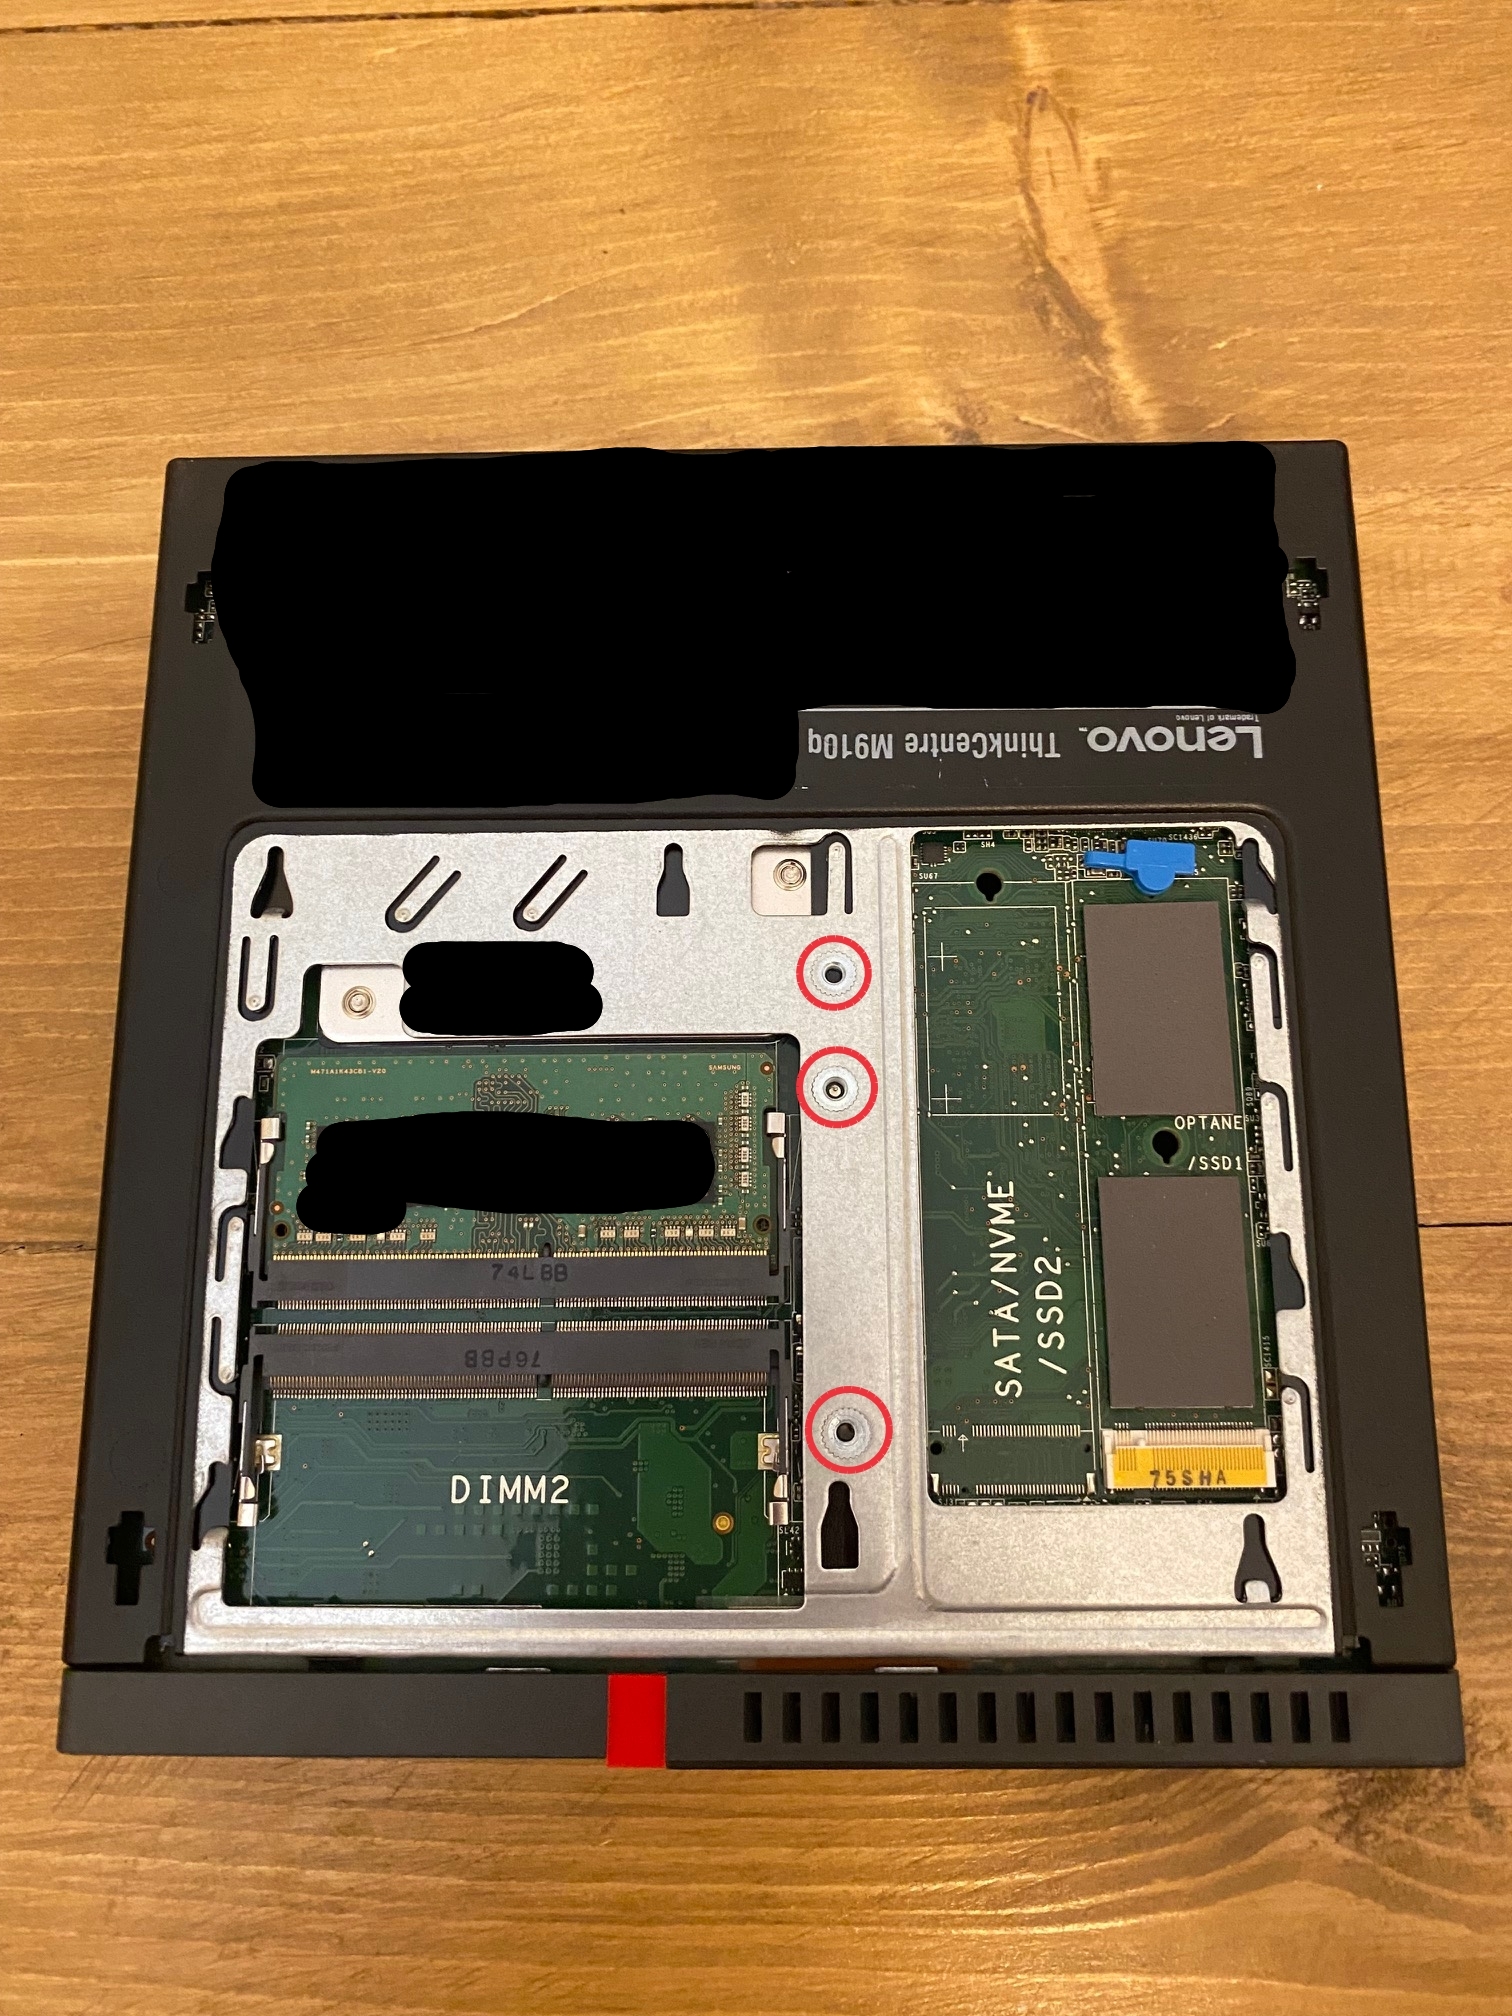
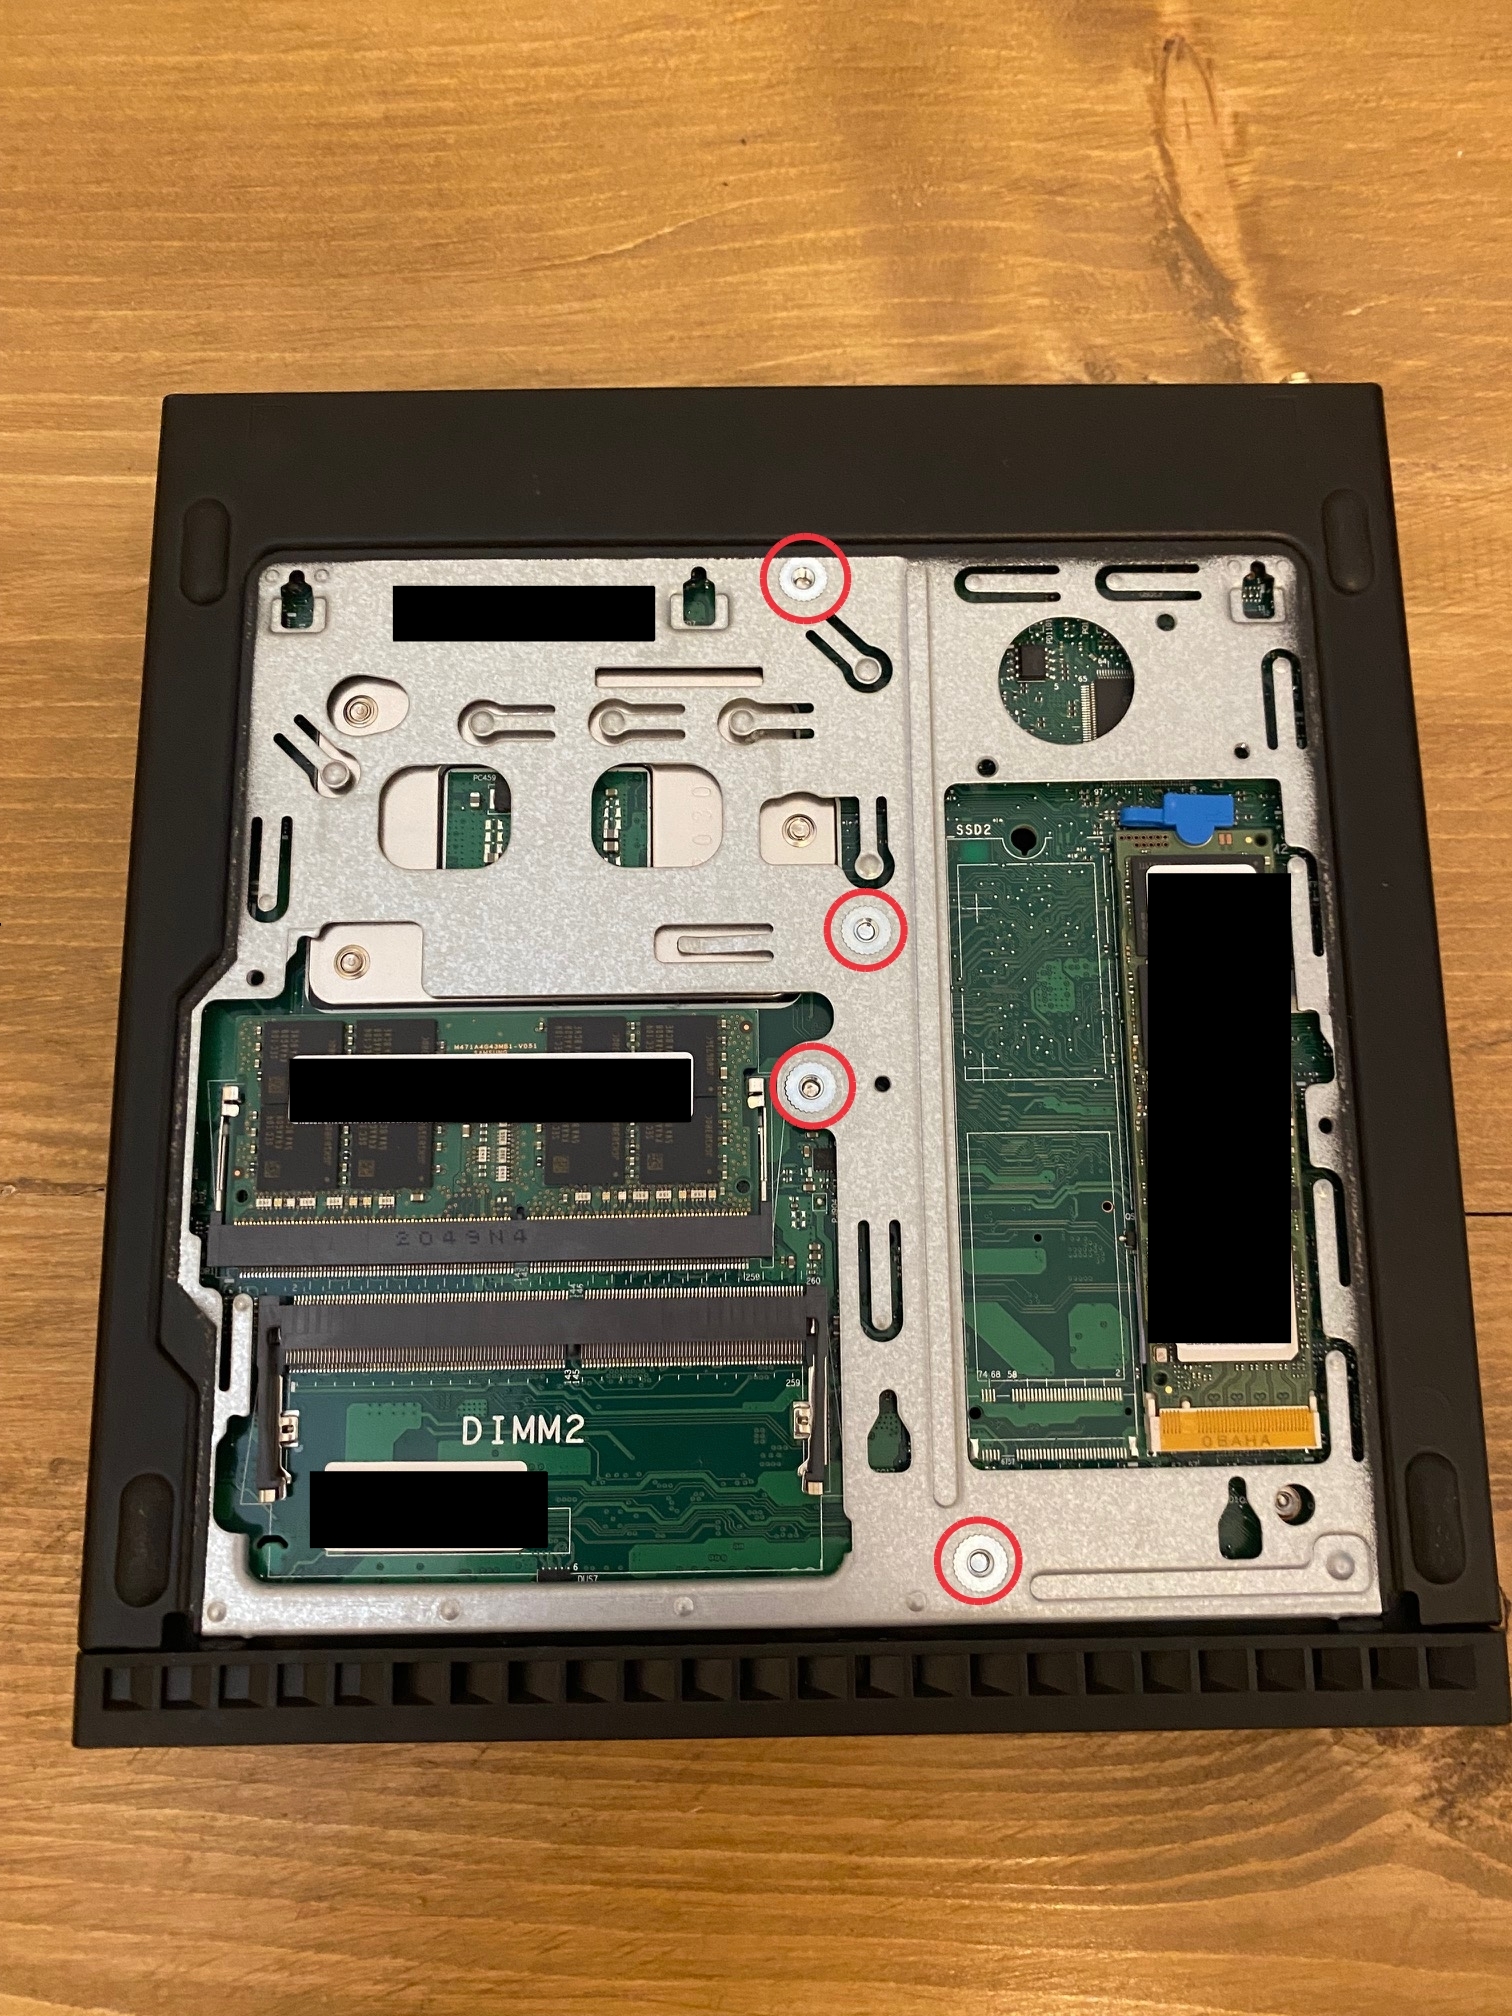
The labelled screw holes are M3 screw holes for fixing the motherboard to the metal chassis. You can see the motherboard screws coming in from the other side. These screw holes go all the way through the chassis and due to symmetry, the thread direction matches that on the other side. This means we can put in our own motherboard screws on this side!
Design process 🔗
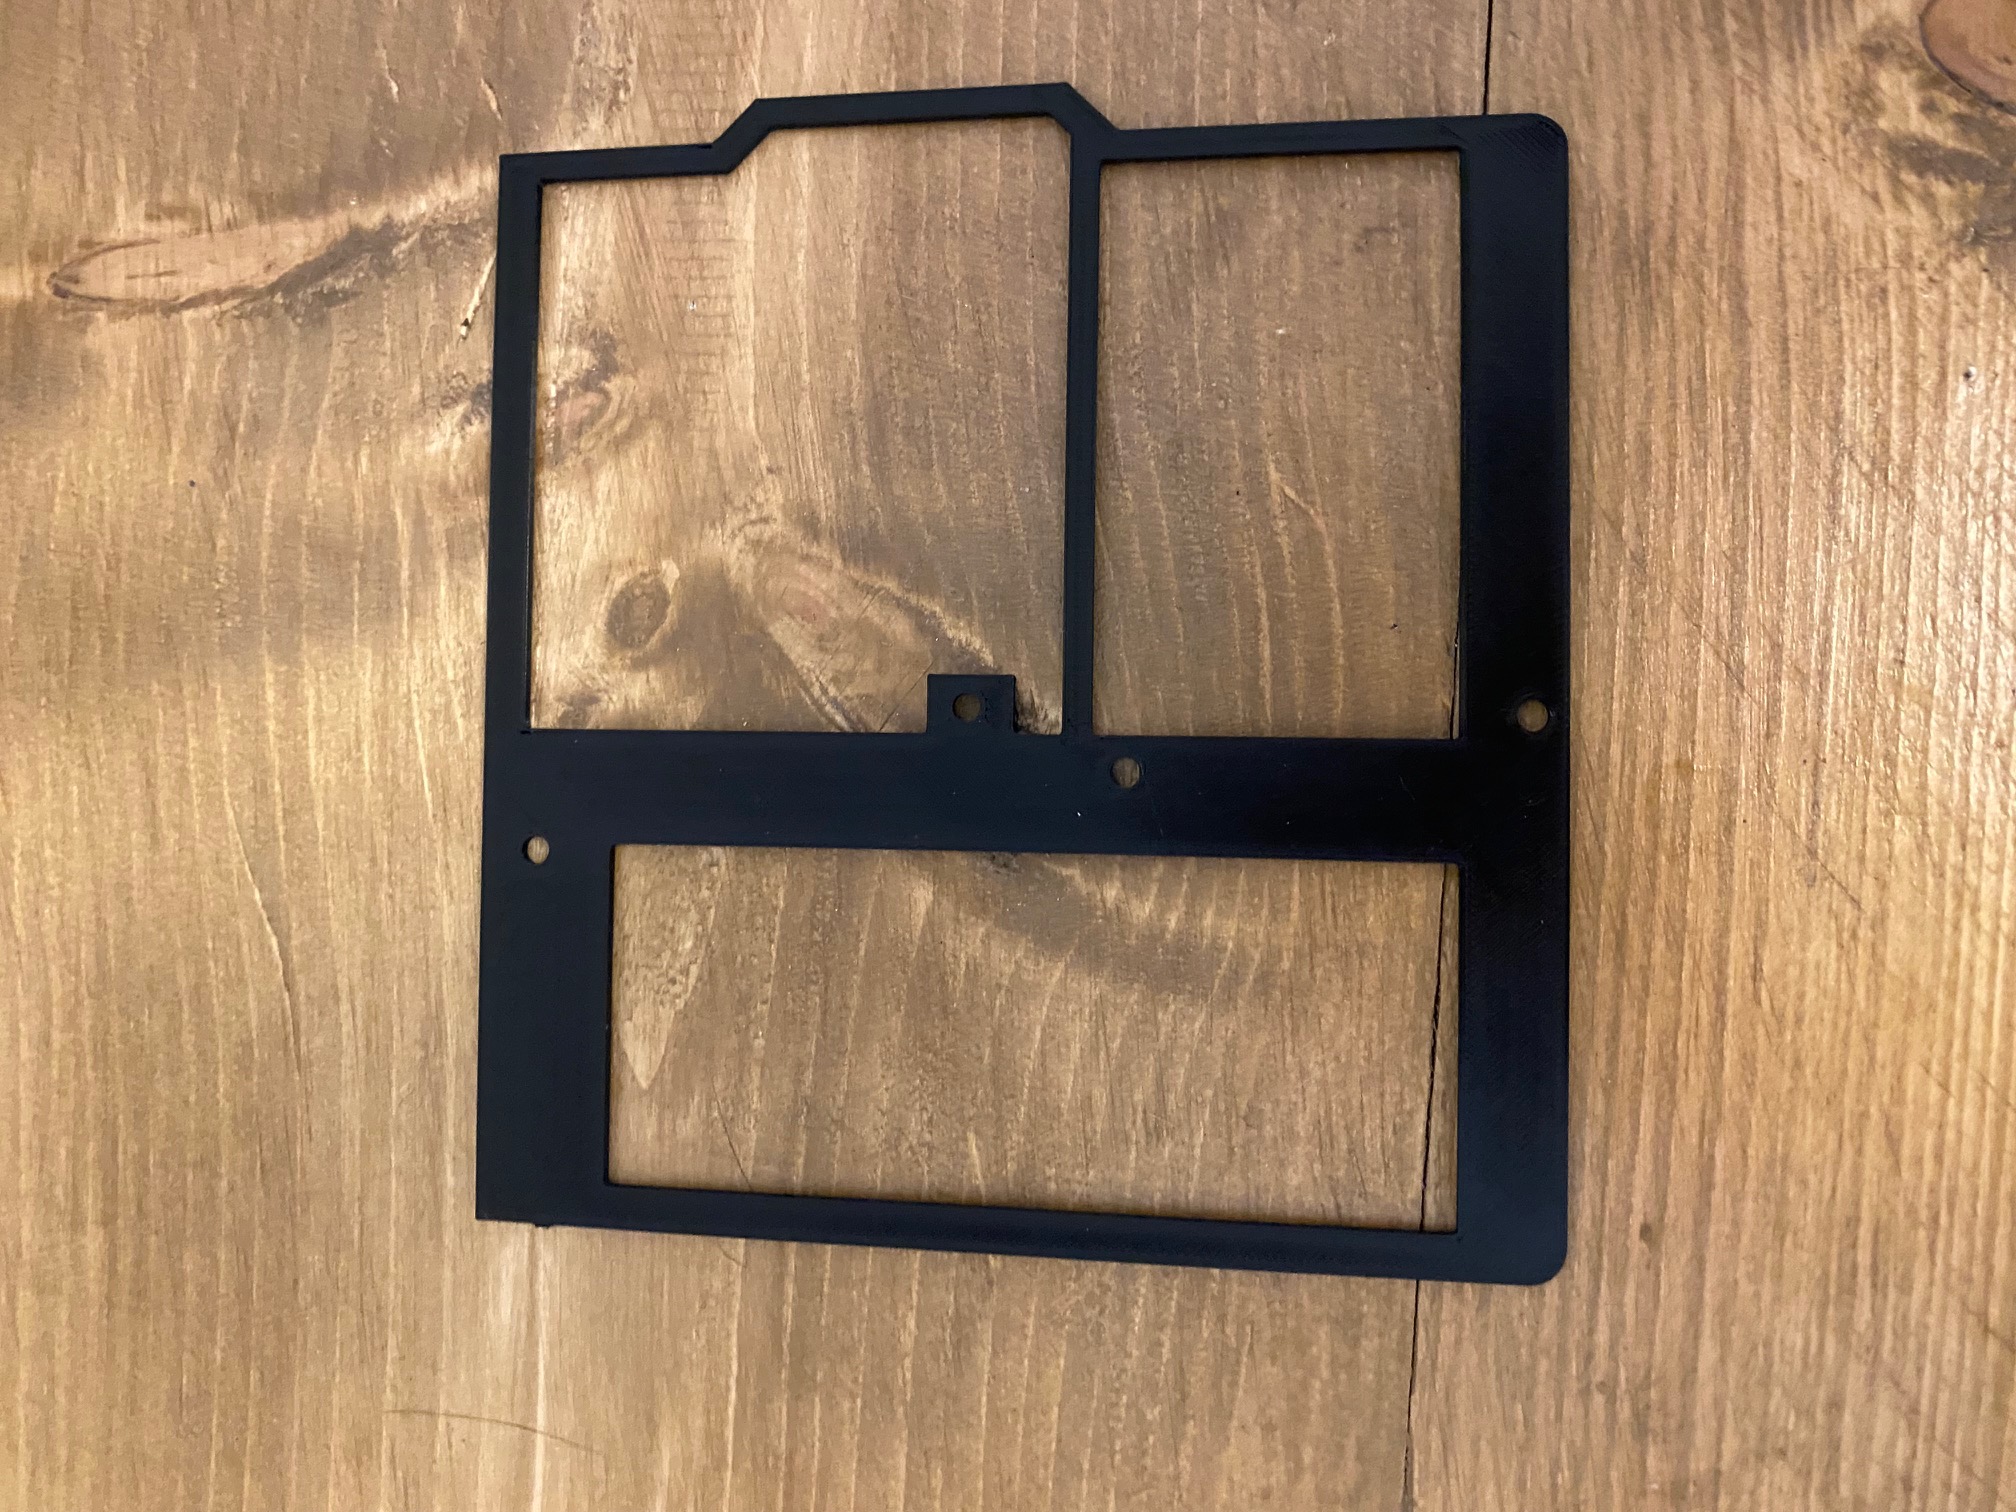
For creating a 3D printable model, I used FreeCAD. I definitely wanted a constraint based modelling system and after a little playing around started drawing the primary recess plate.
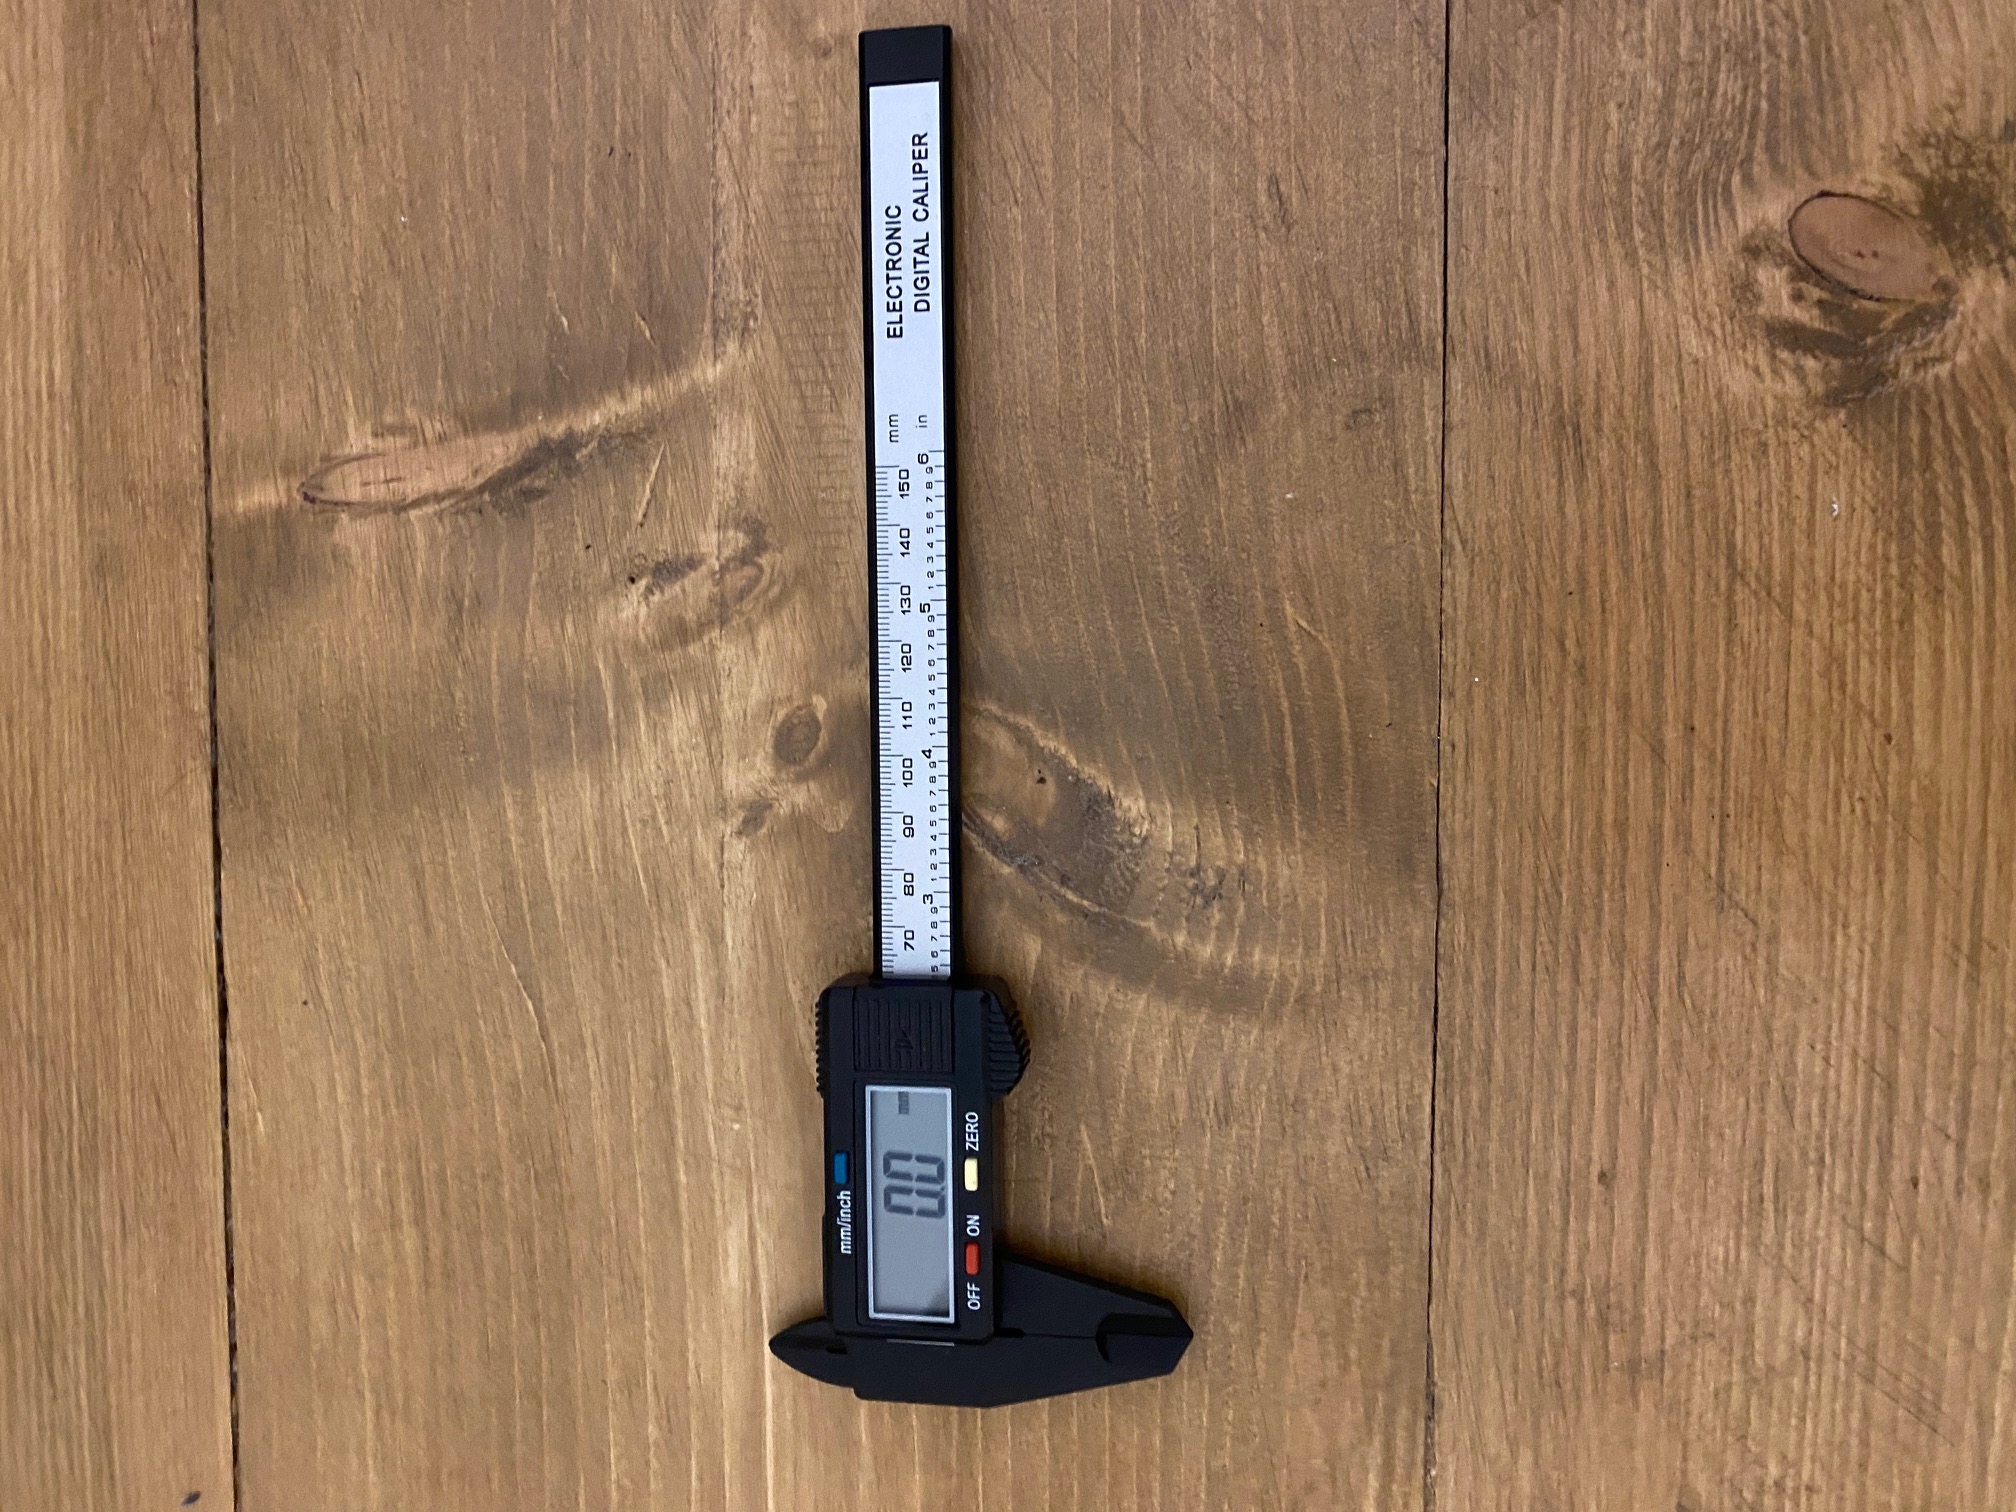
For measurements I followed the advice on online Youtube tutorials and got myself a set of electronic calipers. These were a godsend, I’ve never religiously used a tool so much before in my life.
I measured all of the various lengths and inserted them into my constraint sketch.
Before long I had an outline of the main recessed portion that would line up with the chassis of the machine.
I did not have my own 3d printer but my brother had a Prusa Mini that he very kindly lent to me for this project.
Honestly once I had completed that, the design process for the rest of the cage was kind of a blur. I hide myself in my
dark office cave for around a month. Remeasuring, redesigning and reprinting in a non-stop loop.
I’ve made the FreeCAD
project public for anyone to use/tinker with. It’s the m80q_pcie.FCStd file on Thingiverse.
You might be able to see the design process there. The M80Q baseplate came
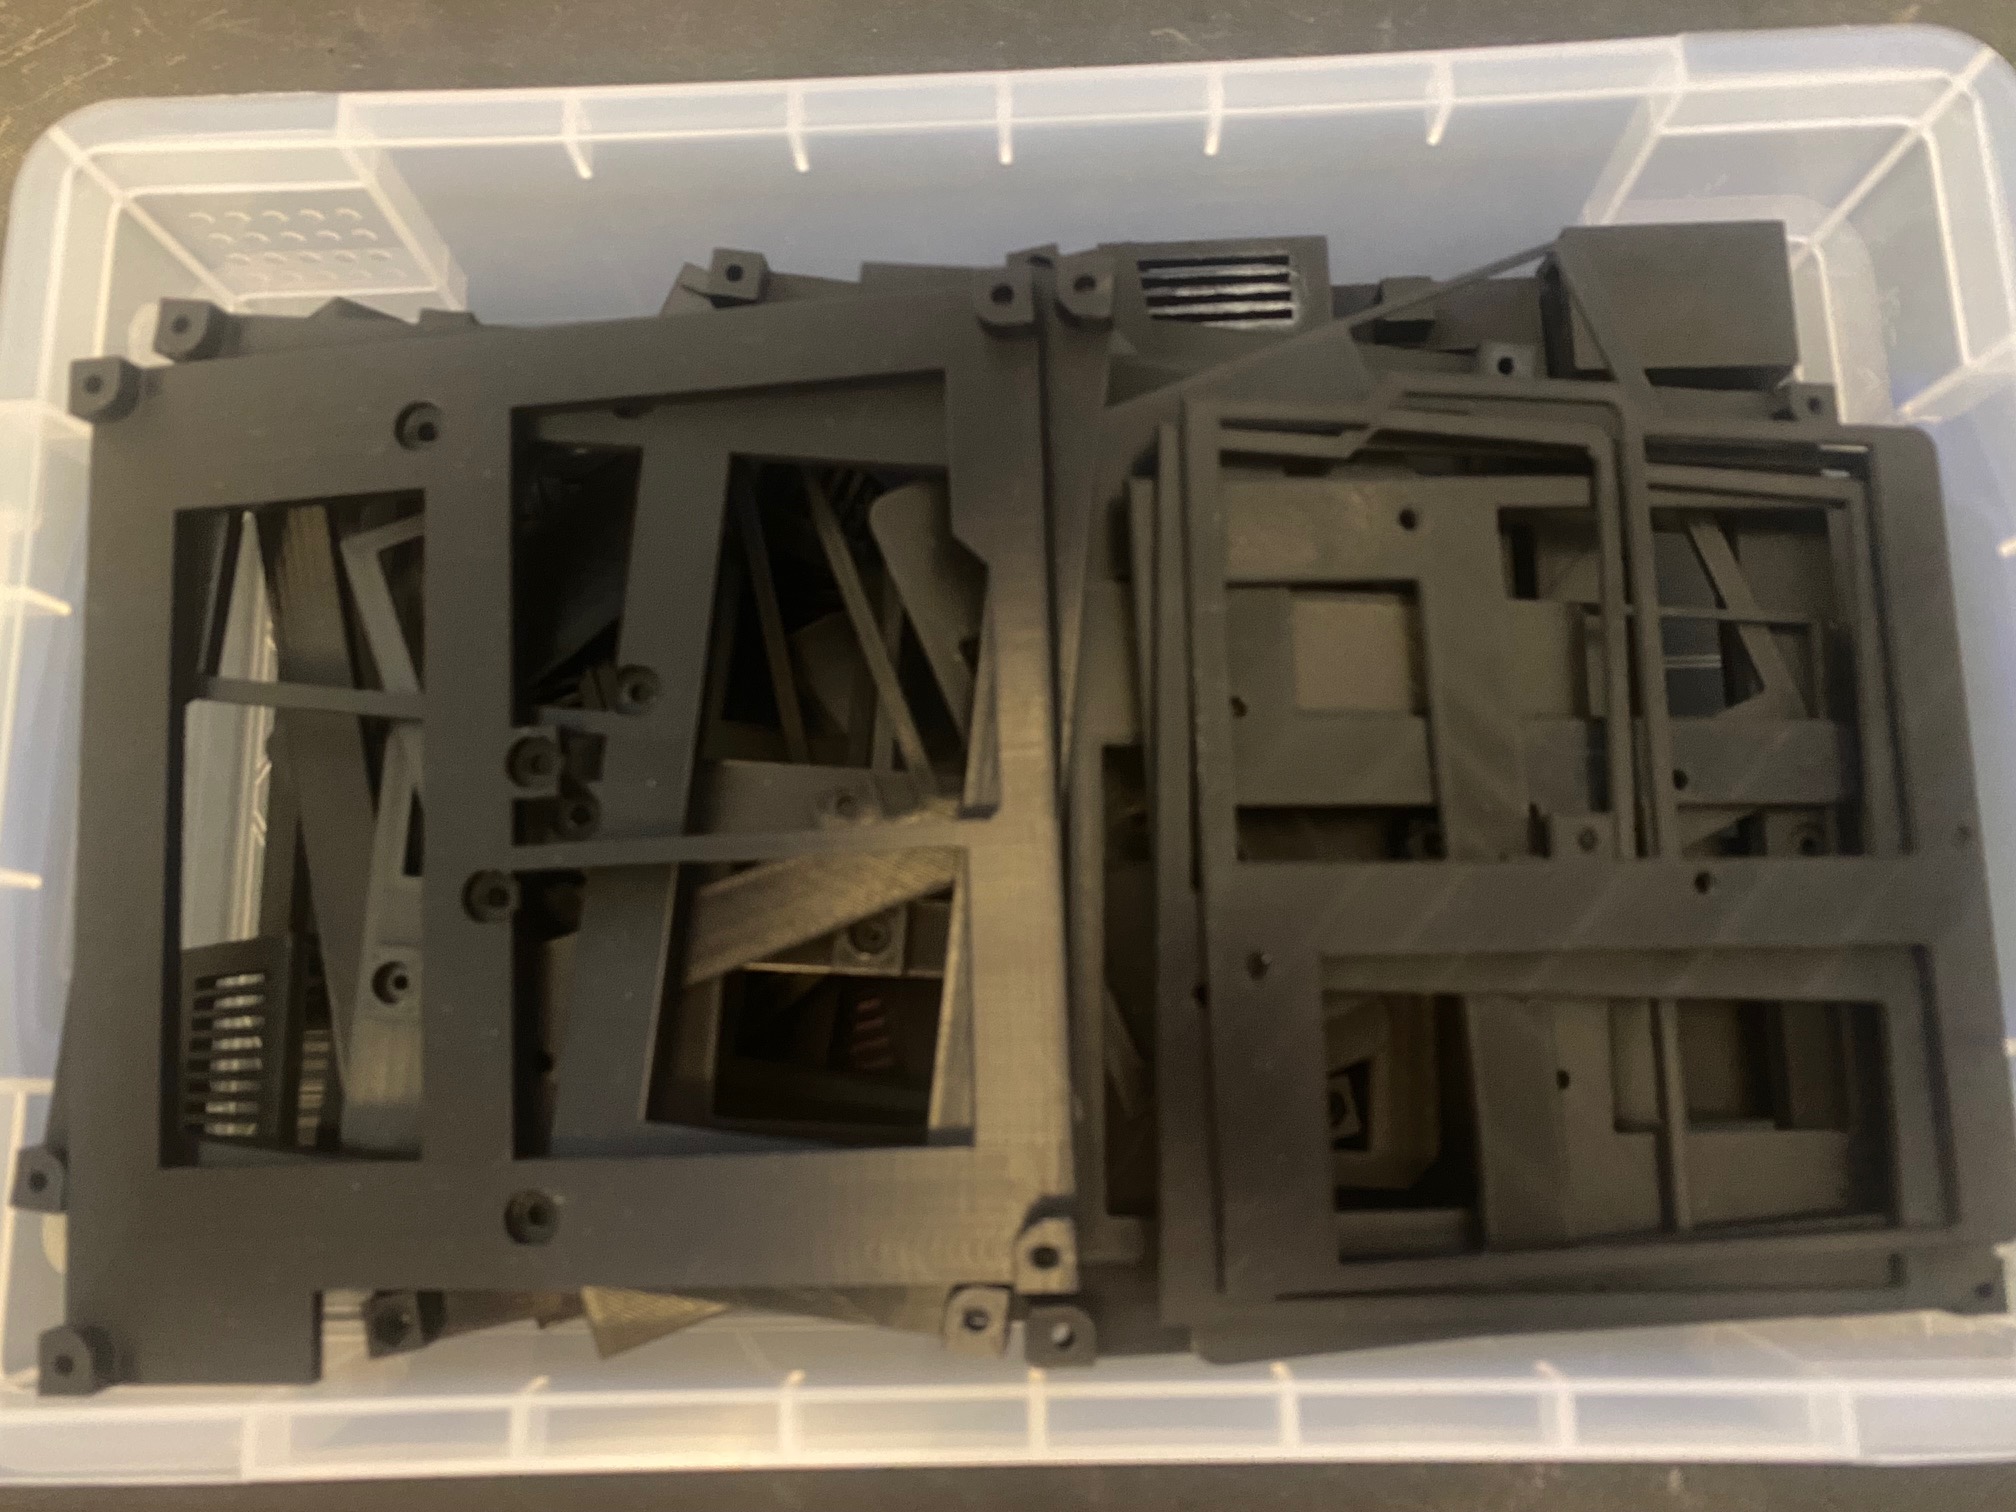
before anything else, and it was a nightmare to get fitting nicely. I made a ton of mistakes but I’m really happy with
how the final prints assembled up. Here’s a picture of all the previous/bad/errored versions of components in a box.
Conclusion 🔗
This was the first time I’ve done 3D design for 3D printing, I’ve used a 3D printer once before in the past but there was never much appeal for me in printing a premade toy design. I needed a proper problem to solve to get into it and I must say what a satisfying experience to go through!
I’ve now completed and tested prototypes for the M910Q and M80Q machines. I still need to get equipment and test the M900 version but I’m reasonably confident I won’t have to change much. My next focus is to print a bunch of these cages in PETG, as I’m concerned about the heat of the cluster and my server rack melting plain old PLA.
If you’re interested in these designs, you are free to do with them as you please. Just give me a comment on Thingiverse if you’re doing anything cool with them!
Until next time,
Phil Stine